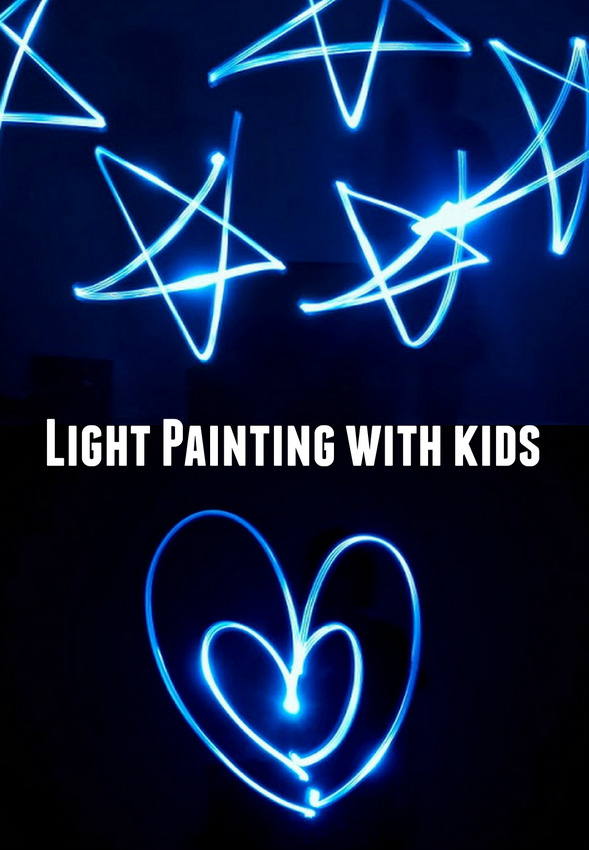
This past Christmas our uncle gave us his old tripod (Thanks Tito Ric!), so hubby wanted to try light painting. We basically just waved around a flashlight in the air to make lovely "drawings" in the dark.
Now if you've got some time to spare before the ball drops (or you've got some super energetic kids who need something cool to do), you can try your hand at making some light drawings too!
Materials:
- Small flashlight
- Camera (with long exposure capabilities)
- Tripod
Directions:
1. Place your camera on a tripod.
2. Set your camera to a very long exposure (for example, 30 seconds). Optional: For better results, manually focus on something where your subject is going to be.
3. Turn off the lights in the room.
4. Start taking your photo.
5. Run into place and shine your flashlight in a design.
And that's it! Now go and release your fabulous inner Picasso self. Happy New Year friends!
 |
| “We all shine on...like the moon and the stars and the sun...we all shine on...come on and on and on...”
~ John Lennon |
 |
| "The best and most beautiful things in the world cannot be seen or even touched- they must be felt with the heart." ~Helen Keller |
 |
| "May your choices reflect your hopes, not your fears." ~Nelson Mandela |
(Many thanks to hubby for inspiring this post and helping me with all the technical camera terms.)

