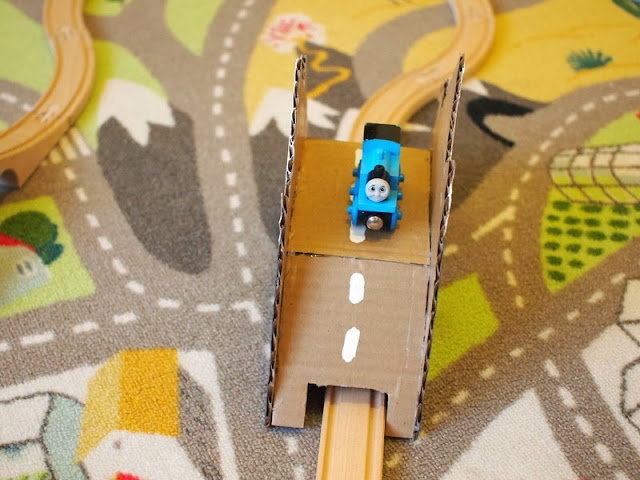
We bought an Ikea train set awhile back and Chuck loves it. The only problem is that our poor Thomas train is too big and doesn't fit under the train set's tunnel. So I poked through my trusty cardboard stash and made him a cardboard mountain bridge.
Cardboard Bridge for Trains and Cars
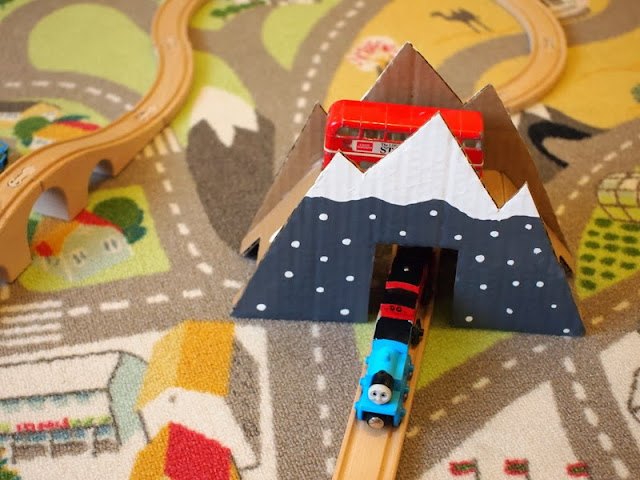
Aha! Problem solved.Now all the trains can fit underneath the mountain while his cars drive over the train track. Yay!
Wanna make a bridge too? Well then keep on reading!
Materials to make a Cardboard Toy Bridge:
- Pencil
- Sharpie marker
- Piece of paper
- Corrugated Cardboard
- Scissors
- Hot glue
- Paint
- Paint brushes
- Mod Podge
- Sponge brush
Directions to make a cardboard bridge for your trains and cars:
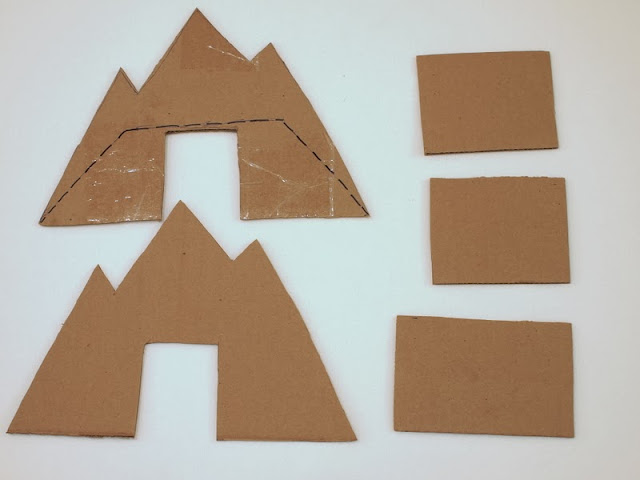
1. Draw out a pattern for your mountain on a piece of paper. Make sure that the entrance is large enough to fit your trains or cars. Cut out your pattern.2. Trace your mountain template onto the cardboard two times. Cut out the mountain shapes.
3. Note where your bridge will be placed on one of your mountain pieces. (I drew some dashed lines with Sharpie.) Then, using your dashed lines as guides, cut out three rectangles to build your bridge. Make sure that your pieces are wide enough to fit your cars!
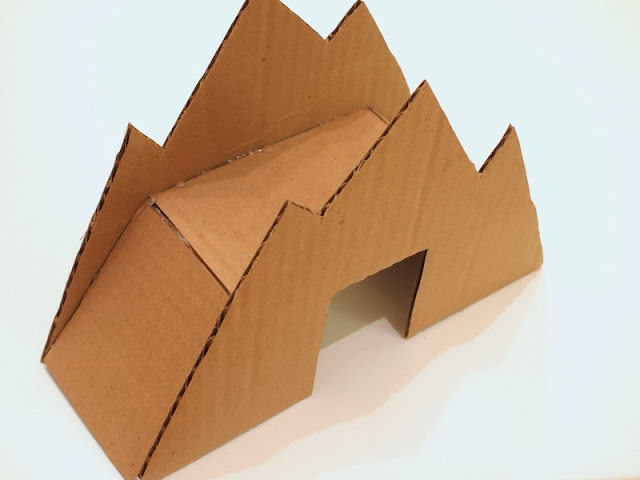
4. Hot glue your bridge pieces to one side of the mountain. Then, hot glue the other side of the mountain on too.
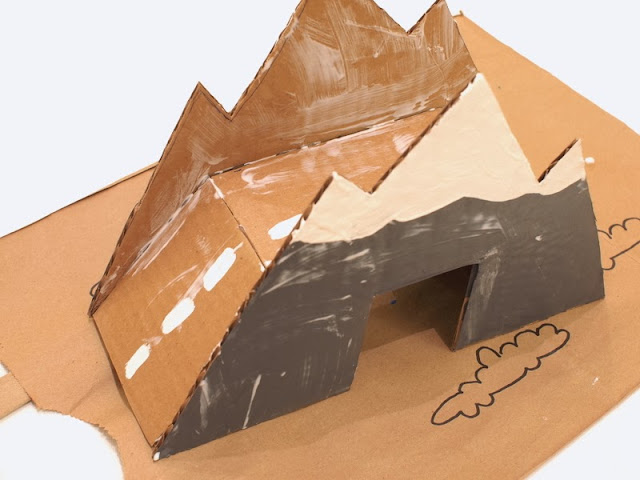
5. Paint your mountain. Then, protect your paint job with a coat of Mod Podge.
And now you've got your very own mountain bridge!
Yay! Thomas fits!
Chuck then wanted to drive Thomas over the bridge too. So, I cut a slit on each side of the bridge so that it would fit lengthwise over the tracks.
It's a perfect addition to our crapty train set. Happy


