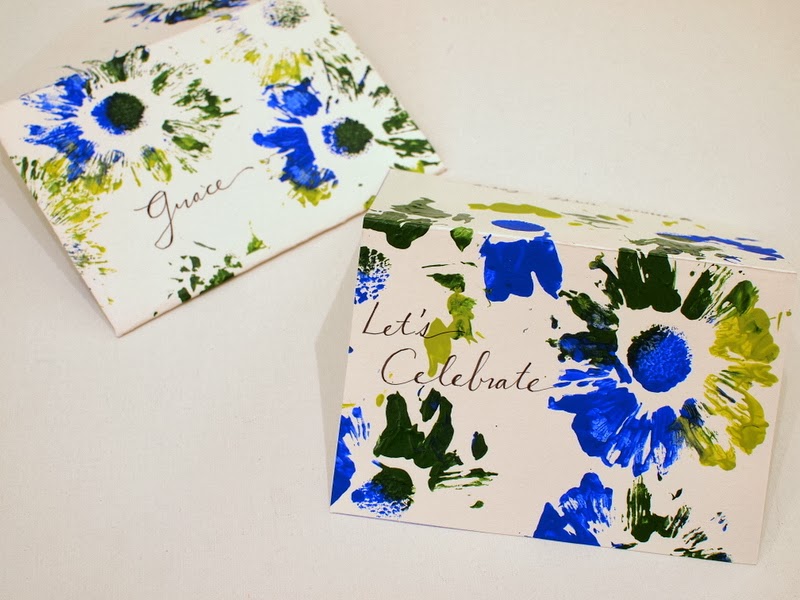
So don't throw away your Valentine's Day flowers just yet. Keep them and make some cards!
Materials Needed for Flower Printing:
- Flowers
- Scissors
- Paint
- Heavy Paper
- Disposable dish
How to Print with Flowers:
1. Cover your work area. Select your paint and pour it onto a dish. (Chuck loves the color blue, so we chose that.)
2. Cut off your flower head, leaving a little bit of stem. (We cut ours completely off and I wish we left a little stem on our head.)
3. Place your flower head into your paint and press down, making sure that the paint covers all the petals.
4. Carefully pick up your flower head (which would have been easier if we had a little stem) and press your flower head down on the paper. Make sure to press all your petals down.
5. Pick up your flower and voila! Instant flower print!
6. Now you can try making another print with that same flower, or you can "reload" your flower head with paint again.
7. Once you've got a design that you like, let your paint dry.
8. Hang your flower prints up as artwork, or turn them into cards and envelopes. (To make a card and envelope template, I found an old card and carefully took apart its envelope. Then, I traced them onto my printed sheets. Then, I cut out out my new card and envelope. I used white glue to put together my envelope. To make sure that the envelope stayed glued shut, I placed it under a very heavy magazine.)
Happy crafting, friends!


