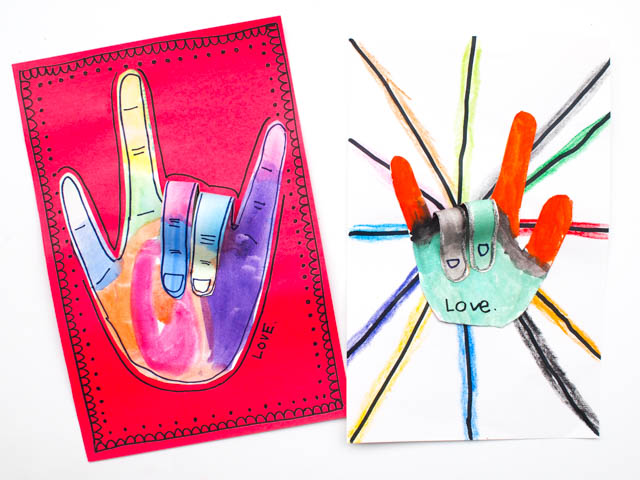
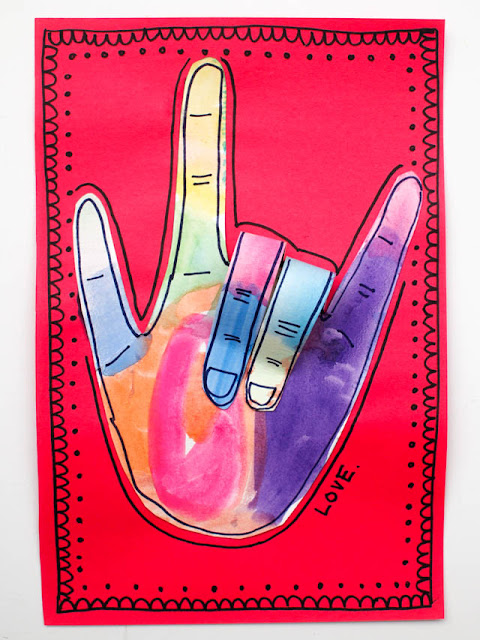
I've just been so caught up in what's happening in our country and world that I haven't fully had the heart or energy to embrace doilies, flowers, chocolate, hearts.... basically anything Valentine's yet. But today I'm turning a new leaf. Here's my first Valentine's day craft of the season... these 3D "I Love You" Hands.
(They're not quite hearts and flowers and pun-ny sayings.. but it's a start, right?)
This post contains affiliate links. Thank you for your the grocery money. For my full disclosure policy, click here.
Oh! And of course, this craft would be a fun one to pair with any of these picture books about love...
(hmm... this list is kinda small.... I'll have to work on that!)
Our Favorite Books about Love:
How to Make 3D "I love you" hands
1. Trace your hands onto thicker paper. (We used watercolor paper. )
2. Cut your hands out. (The thicker paper was hard for my kindergartener to cut, so I cut it for him.)
3. Grab your favorite watercolors and paint one side of your hand. Then, paint the backside of the third and fourth fingers (since they'll flip over.)
4. Once your paint dries, use Sharpie marker to add details. Point out all the lovely wrinkles and nails on your fingers and palms. (We used Sharpie because it wouldn't smear with the glue.)
5. Glue your fingers down. Use clothespins to hold them in place while the glue dries.
6. Once they dry, glue down your hand onto a piece of paper.
7. Add extra special details to your card. (You can also do this before you glue your hand down.)
Enjoy!
And that's it. Hang your "I love you" hand up, or spread the love and give it to someone special. (Goodness knows that the world could use a little more love nowadays, right?)
Hope this post finds you well, friends.
Happy making!


