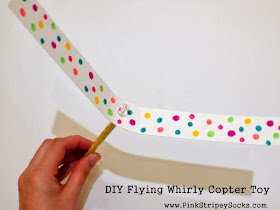
DIY Flying Whirly Copter Toy
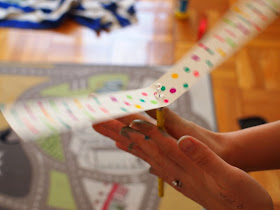
It's pretty neat that the toy actually does fly. You simply spin it between both hands and the copter flies out and floats to the ground. Keep reading to see how we made it (and a video of it flying!)
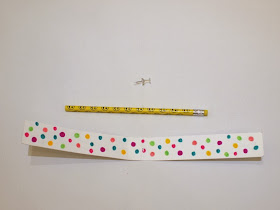
Materials Needed to make Flying Whirly Copter Toy
- Unused pencil with unused eraser
- Push Pin
- Watercolor paper (or cereal box)
- Markers
- Scissors
- Clear tape
Directions Needed to make Flying Whirly Copter Toy
1. Cut your watercolor paper 1.25" x 12.25" (the entire length of my watercolor paper).2. Use your markers to decorate both sides of your watercolor paper strip.
3. Fold your strip of paper in half and then use the pushpin to attach it to the top of your pencil. Bend both sides of the watercolor paper to curve it a bit.
4. Note: Your whirly copter should fly now. But, if the watercolor strip is a bit loose when you spin your copter, use a couple of pieces of tape to secure it down.
And you're done! Take your Flying Whirly Copter Toy for a spin!
Ahh, dueling flying whirly copter toys!
And here's a video of the toy flying:
DIY Flying Whirly copter Toy from Pink Stripey Socks on Vimeo.
Happy crafting!
Psssst-Interested in making other toys that fly?
Try these out!- Babble Dabble Do's Paper Helicopter
- Make kites from recycled materials
- Styrofoam gliders
Pin It


