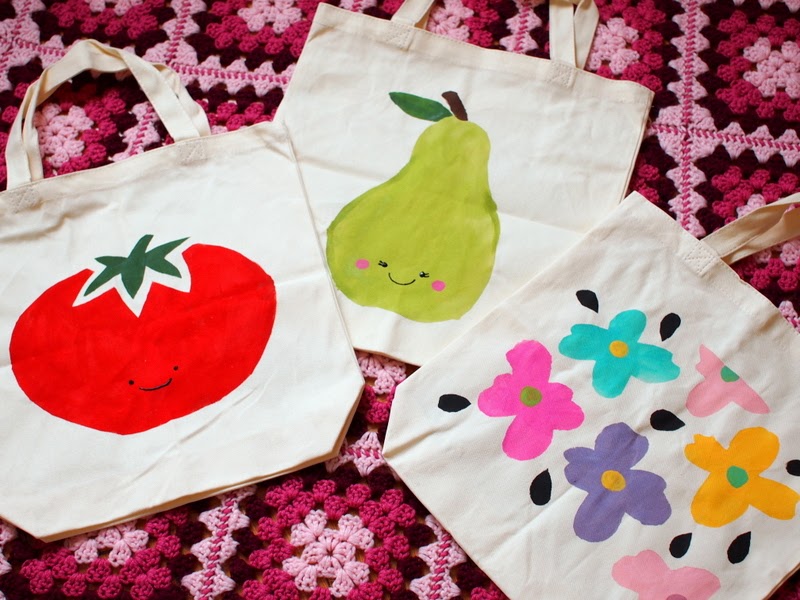
Freezer Paper Stenciled Tomato, Pear, and Flower Canvas Bags

Like the designs? I think they're happy and bright, but I can't take credit for them. I modeled the images from ones that I saw via Pinterest.
Materials Needed to Make Freezer Paper Stenciled Bags
- canvas bags
- craft paint
- fabric medium
- paper
- pencil
- scrap cardboard
- scissors
- freezer paper
- iron
- dish cloth
- sponge brush
Steps to create Freezer Paper Stenciled Bags
1. Draw a sketch on a piece of paper. Imagine which parts will be cut out when you make your stencil.
2. Place a piece of freezer paper on top of your image. Trace the image onto the non-waxy side of the freezer paper. Cut out portions of the stencil.
3. Iron your canvas bag. (I stink at ironing, so this was the hardest part. But it's important to have relatively wrinkle-free fabric so that the stencil will properly adhere.)
4. Place your freezer paper stencil waxy side down onto your canvas bag. Place the iron over the stencil to adhere it to the bag.
5. Place a piece of cardboard between the front and back of your bag so that the paint won't go through.
6. Make your fabric paint by mixing craft paint with your fabric medium. (Directions found on the fabric medium bottle.)
7. Dip sponge brush into paint and wipe the excess off. Dab paint onto your bag.
8. Once your paint dries, pull off your freezer paper stencil. The lines should be nice and clean, but if they're not, just use a paintbrush and paint over the lines.
Happy crafting!


