Let's Make Homemade Maple Syrup Candy!
(using snow-- ooh la la)
This post contains affiliate links. Thank you for your support.
Ok. Here's the part in my post where I typically say how easy the activity was and how much fun we had doing it... but ermmmmm I'm gonna keep it real here. Remember when I shared my dirty crafting secrets and kid crafter confessions? Well, today's post is along that same vein.
Crafter Confession: I tried making this candy 3x before it finally worked. Yurp. I'm not a candy pro.
I recently received a copy of CraftFail: When Homemade Goes Horribly Wrong
Like her CraftFail website, the book celebrates all the times crafters fail. It's filled with dozens of un-pinnable images and humorous descriptions of crafts gone horribly... horribly wrong.
Hubby and I giggled while looking through the pages and I found a lot of comfort seeing other crafters struggling with their crafts too. Because while I love Pinterest, often times it totally bums me out. Sometimes I just don't want to look at all those drool-worthy, gorgeously photographed crafts, or beautifully decorated chevron-filled rooms, or neat and tidy smiling children! Ack! How do they do it?
So if you are crafty, or you know someone who enjoys crafting, then this book would be a great one to read. It celebrates the crafting spirit and provides much needed giggles too!
And in the spirit of the book, today I'm sharing my un-pinnable images too.
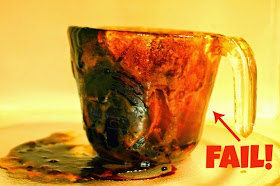
Yurp, one time I tried making this candy, I nuked the maple syrup in the microwave to loosen it up... and ended up with some rather gross results.
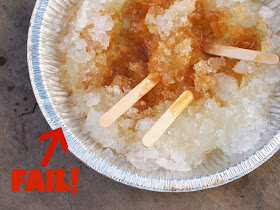
Yurp. And another time I didn't heat the syrup long enough on the stove top and ended up some brown diarrhea-looking water. Yum. Don't you just want to sink your teeth into that?
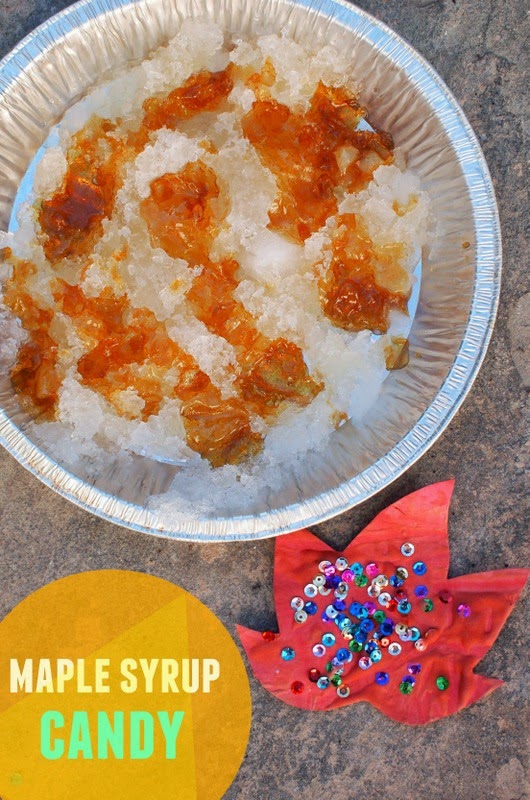
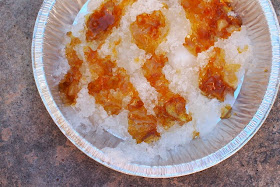
And after several failures, I was soooo incredibly happy (and proud) that I finally produced some edible maple syrup candy.
(Hrmm.. now that I look at this photo... I realize that the candy looks a bit like ear wax. Eeek. Oh well, it tasted good.)
And if you'd like to try making your own homemade candy too, here's how I did it. (Recipe inspired by the one found on the Kitchn.)
1. First I took a tray of ice-cubes and crushed them in my blender. Then, I poured the crushed ice into a pie pan and put it in the freezer to make sure that that my ice stayed cold. (You could also use snow, but we definitely don't have any of that here.)
2. Then, I poured 1/2 C of Maple Syrup (the real kind- not the corn syrup kind) into a pot along with a candy thermometer. (The thermometer is VERY IMPORTANT It will tell you when the maple syrup is ready.)
3. Then, I heated it up and watched the temperature rise. You will see the maple syrup bubble. Do not be afraid, that's what it's supposed to do! Within a couple of minutes, your temperature should rise to 235 degrees F. (Make sure it reaches this temperature! Otherwise you'll get the brown watery mixture like I had.)
4. Take the pot off the stove and pour it IMMEDIATELY over your crushed ice.
5. Watch in amazement as the syrup hardens before your eyes. Then, peel off the your candy and eat! (Note: Do not wait too long because the candy WILL melt your ice.)
Hubby and I really liked eating the candy... and Chuck preferred eating the mixture of melted snow/maple syrup.
I hope you have fun trying this out for yourselves too. (And hopefully you'll have better results that I had my first couple of times.)
Good luck and have fun, friends!
Looking for other fun ways to play with food?
Then check these links out below!
Let's keep in Contact!
Pin It


