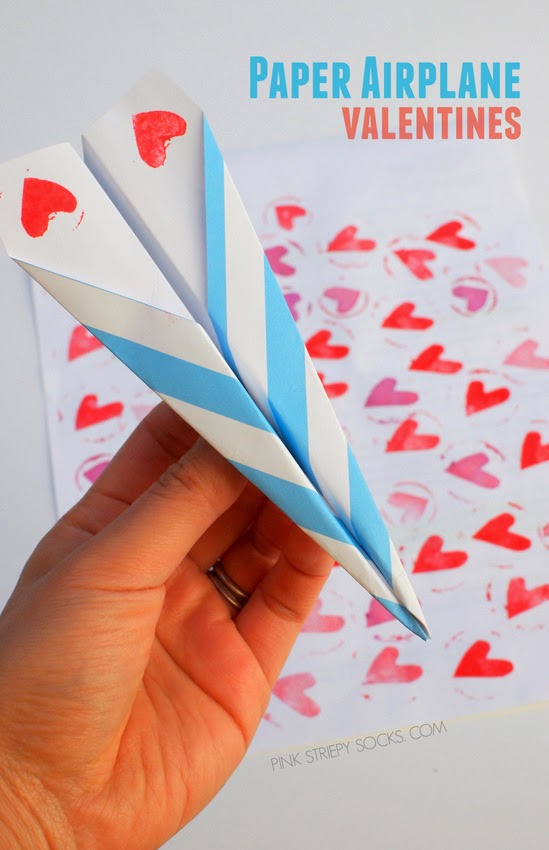
Paper Airplane Valentines
This post contains affiliate links. Thank you for your support.
Here are the materials I used:
- Decorative paper
- Scissors
- Heart Stamps
- Clear Tape
- White Glue
- Pen
Here's how we made our paper plane Valentines:
1. I cut out rectangles from decorative paper. Then, I stamped two corners (on a shorter side) with hearts.
2. Then, I proceeded to fold a paper airplane.
- I folded the paper in half lengthwise
- I opened it up and folded two corners in until they met the middle fold
- I folded the sides in once more so that they met the middle fold
- I folded it in half along the middle fold
- I folded the sides down until they touched the middle fold
And that's it!
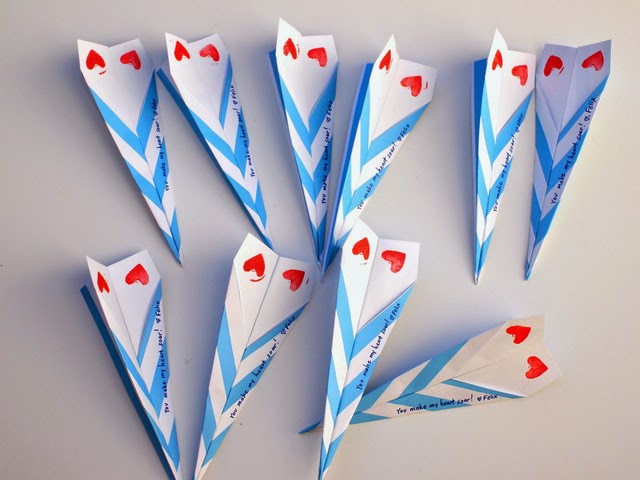
3. (Optional) Some of Chuck's classmates are still quite young, so I also used tape and glue to glue the two halves of the plane together. (I stuck the airplanes in a heavy book to keep the sides together as they dried.) This way the planes were easier to fly. I also wrote the phrase "You make my heart soar!" on the planes to make them more pun-y and Valentines-y. (Click here to see more fun Valentine's Crafts!)
It took me one night to make 30 for Chuck's preschool. We're handing them out to classmates tomorrow and I can't wait to watch them fly their planes around school!
Let's keep in Contact!
Like kids crafts and activities? Then you'll definitely want to check out this awesome craft ebook!
And, you can always find fun ideas on my Pinterest, Facebook, Instagram, or Twitter accounts! (Or subscribe to my email mailing list by filling out the pink bar at the top of your screen.)
And, you can always find fun ideas on my Pinterest, Facebook, Instagram, or Twitter accounts! (Or subscribe to my email mailing list by filling out the pink bar at the top of your screen.)
Happy making!


