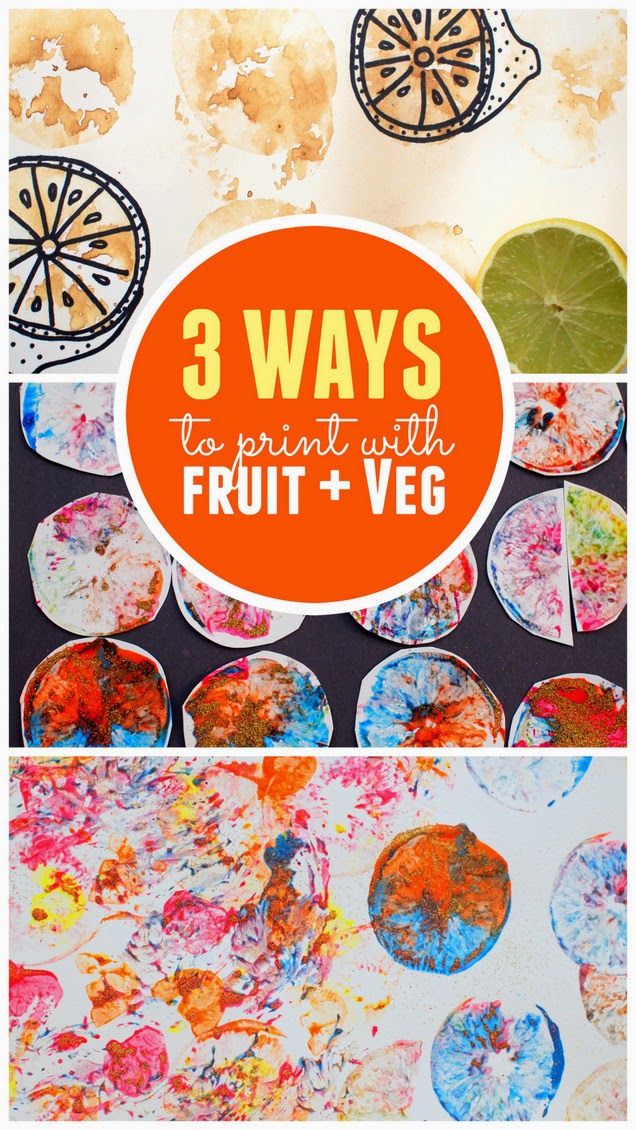
3 Ways to make Fruit and Vegetable Prints!
This post contains affiliate links. Thank you for your support!
Today several other kid craft-loving bloggers and I are sharing cute and fun crafts involving fruit and vegetable prints. So scroll down to the bottom of the page for 10 MORE fun and crafty fruit and vegetable print ideas!
Let's get started!
3 Ways to make Fun Fruit and Vegetable Print Art
Method 1: Just print it!
Here are the items that Chuck and I used to create our prints:
And here's how our table was set up:
(FYI, we just used tempera paint . To make cleaner prints, you have to dab off excess paint. Chuck didn't really care about cleaner prints. He just rolled everything around.)
As our paint dried, we tossed glitter onto it. (This was fun to do... but warning- a lot of the glitter flaked off once the paint dried. )
Here are some of Chuck's prints:
Here are my prints...
I also gave Chuck some packing tape to help clean up the extra glitter. He was ENTRANCED and seriously enjoyed just sticking the glitter onto the tape. (I definitely think he enjoyed this part more than the printing part.)
Method 2: Turn your prints into a collage!
After everything dried, I cut out some of the cleaner prints and turned them into a lovely and modern collage.
Method 3: Make some magically appearing prints!
Yup. You read that right. At first you don't see anything on the page... and then slowly, slowly they're appear! It's magic! (Well, science.) Although this method didn't result in the most beautiful prints, it was the coolest for me by far.

The secret ingredient is... lemon juice! Simply dip your fruit and veggies into lemon juice and start printing away. Once the juice dries, hold your paper over an open flame (using tongs!) and watch your artwork magically appear. (This was one of the techniques I used before to write secret messages to Chuck.) Afterwards, I just used Sharpie markers to doodle on top of the prints.
I hope you have fun trying these ideas out with your kids too!
And as promised, here are 10 more fruit and vegetable print crafts!
- A Little Pinch of Perfect - Bell Pepper Stamping Bug Craft
- Artsy Momma - Stamped Carrot Bug Crafts
- Crafty Morning - Celery Fish
- Fun Handprint Art - Stamped Onion Snails and Wall Art
- Glued to My Crafts - Potato Stamped Ladybug Cards
- I Heart Arts n Crafts- Potato Stamped Pandas
- I Heart Crafty Things- Brussels Sprouts Stamped Bunny Craft
- In the Playroom- Veggie Stamping with Okra
- *Artsy Crafty Mom - Okra and French Beans Spring Flowers
- *Hello Wonderful - Fruit Stamped Lunch Bag
Let's keep in Contact!
Pin It


