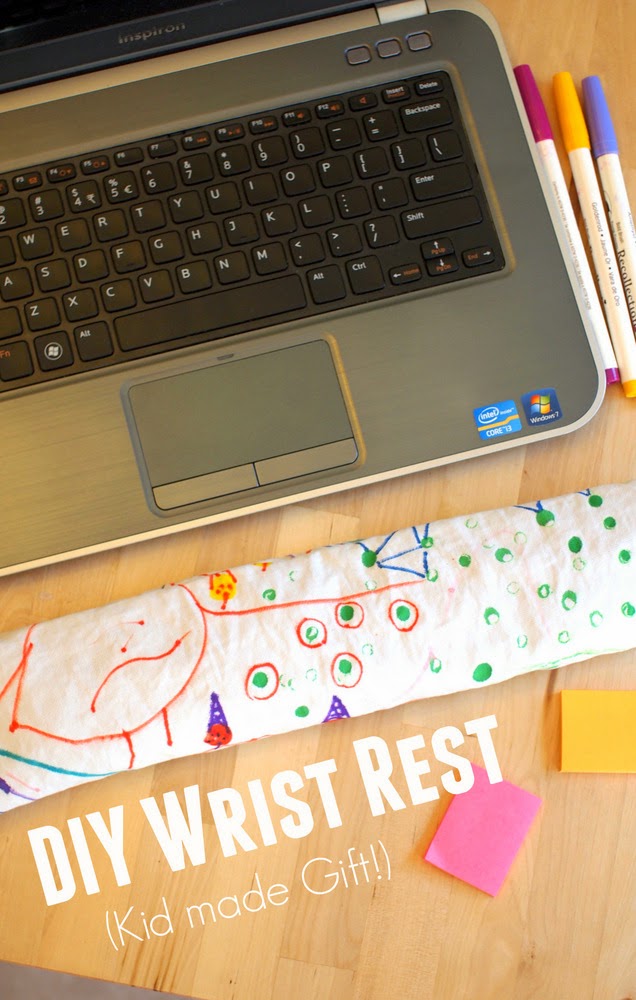
DIY Computer Wrist Rest
This post contains affiliate links. Thank you for your support!
Wouldn't this make such a cute and useful DIY gift for kids to make?
As you can probably guess, we're all about DIY gifts around here. Not only do we save a buck or two when we DIY, but we also have ffun making and designing something special for loved ones. Over the years we've made DIY gifts like...
- Mustache tie clip
- Felt flower lapel pin/ boutonnniere
- Painted Mosaic Styrofoam Picture Frame
- Melted Crayon Watercolor Frames
- Bonne Nuit Pillowcases
- Sharpie Decorated Plates
I'm pretty proud of this computer wrist rest because it's cute AND useful. Here's how we made it.!
(By the way, I know, the photos are kinda dark. I was just messing around with the design and snapped some photos as an after thought. Boy, was I surprised when everything came together!)
First, I grabbed two large freezer bags and cut off the top parts (the zip parts). Then, I cut off 1 side from each. Then, I used packing tape and taped the two bags together to make 1 large bag.
Then, I placed my super large bag inside of a plastic bin and poured rice into it. (I used the bin so the rice wouldn't escape.) I tried to fill the bag so that we had a squishy and comfy wrist rest. (Make sure you don't overfill the bag! Remember, the rice has to "give" a little when you rest your wrists.)
Then, I rolled up the bag's edges and stapled them shut. Then, I used packing tape to tape my rice into a wrist rest shape.
Then, I cut up one of hubby's old stained work shirts. Chuck and I grabbed our fabric markers and
these markers
Hubby then sewed a little tube from our material to fit over the bag of rice. (Imagine a little umbrella cover.) And that's it! Certainly if you don't sew, you could just hot glue the fabric together (although you wouldn't be able to wash the material once it gets dirty.)
So what do you think? Will you try making your own computer wrist rest?
Let's keep in Contact!
Happy creating, friends!


