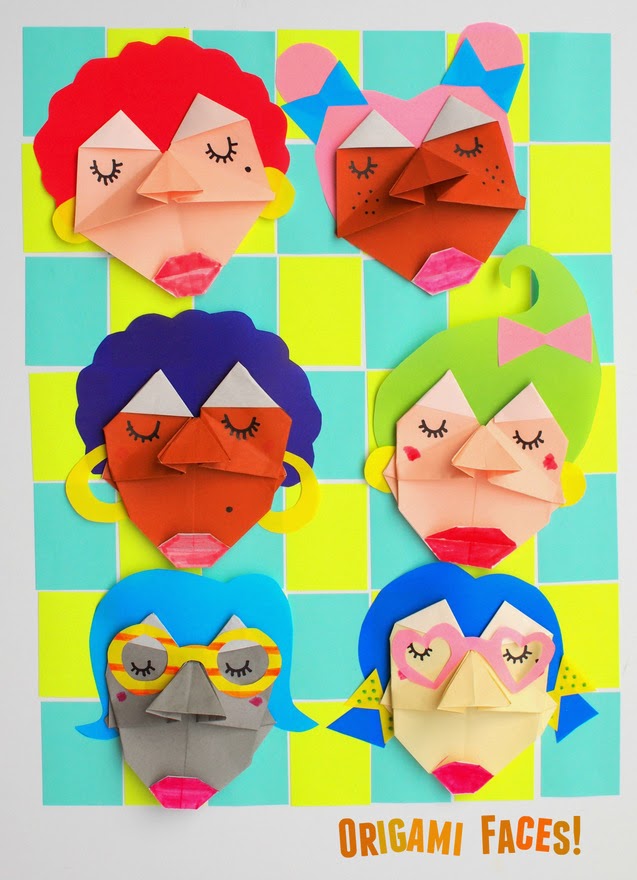
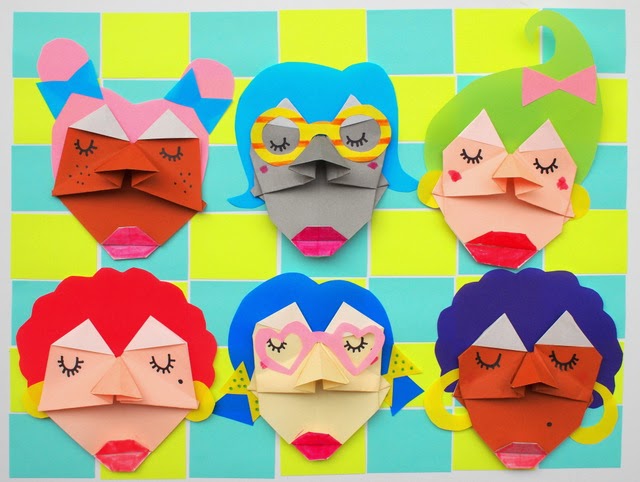
Paper Sculptures- Making Origami Faces with Kids!
This post contains affiliate links. Thank you for your support!
Now I definitely CANNOT take credit for the idea or the steps. I found this Easy Origami
To make this craft, you'll need:
- Origami Paper
- Scissors
- Glue Stick and/or Tape
- Markers
- Pencil
Let's watch an origami video tutorial!
Directions to Fold Origami Faces from Pink Stripey Socks on Vimeo.
How to Fold Origami Faces
- Fold your paper in half diagonally.
- Fold it in half again.
- Open up your paper. (The folds will help guide our folding later!)
- Now we're going to figure out how to fold our left corner about 1/4 of the way on the left side. To do that, I first folded my left corner to the middle and then gently pressed down to mark where the 1/2 way mark was.
- Then, I folded my left corner to the 1/2 way mark. (Cool!)
- To make a similar fold on the other side, I folded the paper in half.
- Then, I folded the corner right over. Now I have a fold about 1/4 of the way on the right side too.
- Open it up and admire your folds.
- Now fold the paper in half.
- Now we're going to make the corner of the left white triangle meet the the middle fold about 1/3 of the way down. (I marked both of those spots with my fingers.)
- Then, fold down!
- Repeat this process with the other side, making an identical, matching fold!
- Fold your right triangle up to meet the top of your face.
- Fold the left side similarly. Make sure that the two corners of your triangle touch the middle folded line.
- Here comes the tricky part. (You may want to watch the movie.) We're going to make the nose. To do that, we have to first fold some guiding lines to help the paper bend the right way. The guiding lines are basically just us folding our paper around the eye folds onto the other side. Ready? Ok. Flip your face over. Then, fold the left side of your paper back, following the line of the folds from the other side. Make sure to end your crease at the middle line.
- Lift up the left side and and repeat this same process with the other side.
- When you open it up, you should have two folds like this that stop at the middle line.
- Now we're going to fold two more lines. Lift up your origami face and press down, tracing the top fold from the other side. Open your face back up.
- Repeat the same process with your right side. When you open it up, you'll have folds like this. (See? They are folds in the exact places as your eyes from the back side.)
- Push down the top flap and you've created some cheeks.
- Push your nose side to side to help with the next step.
- Put your finger into the "nostrils" Then push down on the triangle to create a nose shape. (This will take some finessing!)
- Fold the bottom corner up to create a lip!
- Now fold the two corners back to create lips.
Then, use markers, scissors, and other sheets of origami paper to decorate your faces!
And if you liked this modern origami craft, definitely check out my other origami and paper folding crafts! Here are some of my faves!
- Folding Popsicle Stick Fan
- Origami Black Cat
- Colorful Kirigami Flowers
- Gorgeous Tissue Paper Flowers
- Calder Paper Sculptures
Let's keep in Contact!
Happy making, friends!


