How to Make Tissue Paper Flowers
This post contains affiliate links. Thank you for your support!
I really love this craft because we transform simple and affordable materials into something really magical! Here are the materials that you'll need:
- Colorful tissue paper
(usually found in the gift wrapping section)
- Scissors
- Green pipe cleaners (for stems)
Now let's fold some flowers!
You'll need 4 sheets of tissue paper to make each flower: 2 large sheets (same size) and 2 small sheets (same size, about half the width of the larger sheets.)
I loved making large flowers. So I made my large sheets roughly half the size of the tissue paper in the package. I did this because the paper was already nicely folded that way. My 2 large sheets were approximately 12"x 20" and my 2 small sheets were approximately 6"x 20".
Note:
- These sizes are arbitrary. You can adjust your sizes accordingly. Just make your smaller sheets about half the width of the larger ones to get really dramatic differences between the petals and the centers.
- Your sheets of paper don't have to be the same colors! I chose black and yellow to look like black-eyed susans. But you could also choose 2 large sheets of red, 1 small white, and 1 small black to look like poppies. The sky is the limit!
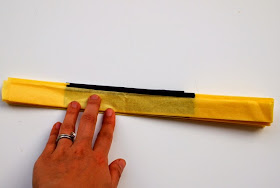
Lay your small sheet rights on top and in the middle your large sheets. Accordion fold the sheets together, making sure to keep the small sheets in the middle. (I made my folds about 1 inch.)
This is what it looks like when you're done!
Now fold your petals in half This will help us find and mark the center.
Open it up and round off the corners. (You could also make points if you want.) Then, twist a pipe cleaner in the middle of your petals to hold them in place.
Note:
- Make sure your pipe cleaner is in the center. Otherwise you'll get some wonky, unbalanced flowers.
- Make sure the stem is twisted AWAY from where the small tissue paper is seen. (When we open up the petals, you want the stem away from the flower.)
- I obviously did not place my black sheets in the center before folding. Oops! Don't make my mistake!
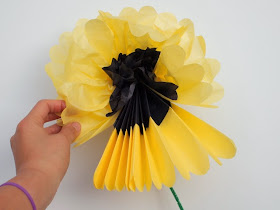
Now, gently pull apart your tissue paper sheets, starting from the smaller sheets and working to the larger sheets. (Watch and be amazed by the magic!)
Do this to both sides. When you're done, fluff your petals a bit. There. Now you've got a gorgeous tissue paper flower. :)
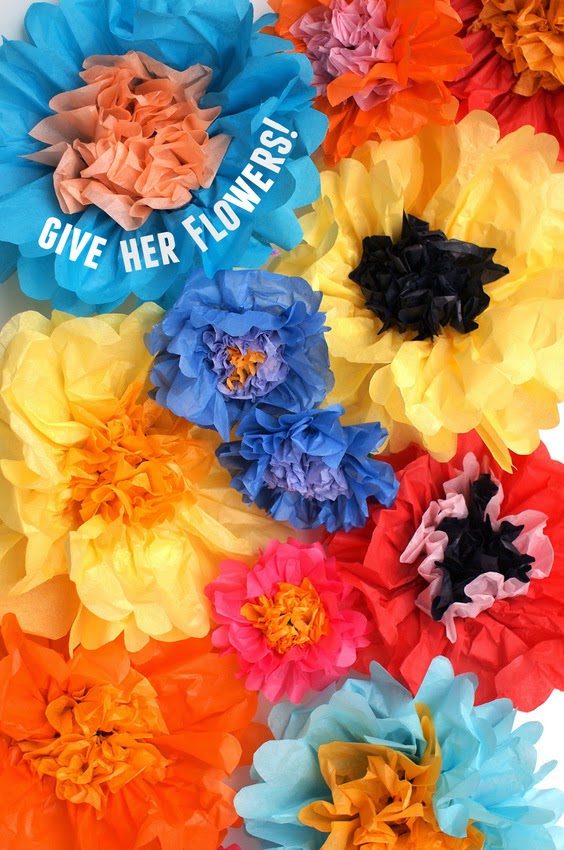
Once you make one, you'll be tempted to make a whole bunch. I loved playing around with the sizes and color combinations! Aren't the results fabulous?

I hope you have fun making these with your kids! And if you love flower crafts, then definitely check out the dozens of flower crafts on the blog!
Let's keep in Contact!
Happy making, friends!
Pin It


