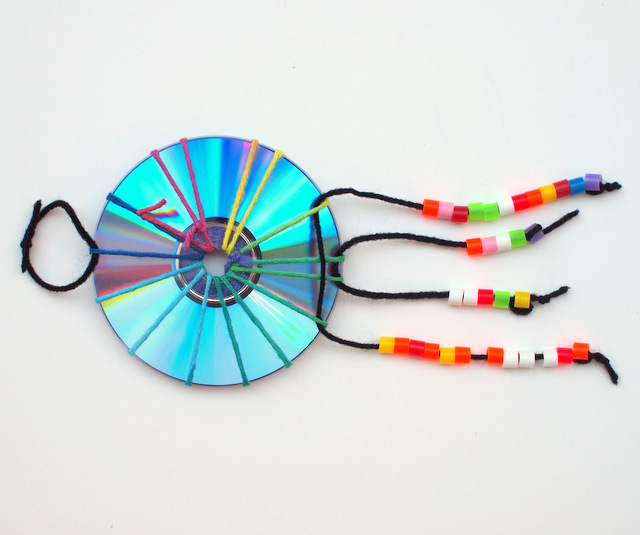
Woven CD Dream Catcher Craft
This post contains affiliate links. Thank you for your support!
By the way, if you seriously have a ton of CDs that you'd like to get rid of, then today's the perfect day for you! Several other kid-craft loving bloggers and I are sharing some easy and fun CD crafts, just perfect for kids of all ages! So be sure to scroll down to the bottom of the page for some more CD crafts, like this neat Spinning Top CD Art idea!
Our current 20+ favorite art books:
- Colorful Dreamer
- The Iridescence of Birds
- Modern Art Adventures
- Mix it Up
- Press Here
- Any Ed Emberley Book
- The Day the Crayons Quit
- Beautiful Oops
- Dog's Colorful Day
- Too Much Glue
- Harold and the Purple Crayon
- Day with No Crayons
- Artist to Artist
- Artist Ted
- The House Baba Built
- A Blue Butterfly: A Story of Claude Monet
- Sandy's Circus
- A is for Art
- The Artful Parent
- This Bridge Will Not Be Grey
- Art Workshops for Children
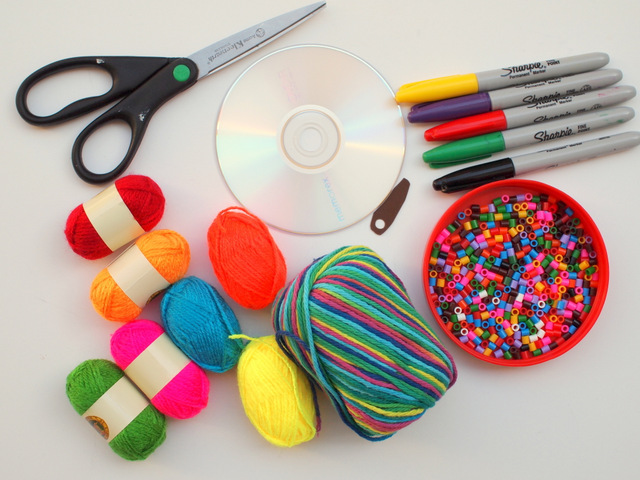
Materials Needed:
- Yarn (We used smooth kinds, but any will dot)
- CDs
- Scissors
- Beads (I used regular Perler beads and Biggie Beads
)
- Sharpie Markers
- Needle (You can use a plastic lacing needle
, or simply wrap the end in masking tape, or make your own needle by wrapping a toothpick with masking tape, or make a needle from an old plastic lid)
Now there are quite a few cd weaving tutorials out there. I found this cd weaving tutorial particularly helpeful. If you're planning on doing this activity with children, definitely check her site out! She gives great tips on how to adjust this activity for children of all ages. Plus, she also shares tips about the pros and cons of different types of yarn too!
Let's get weaving!
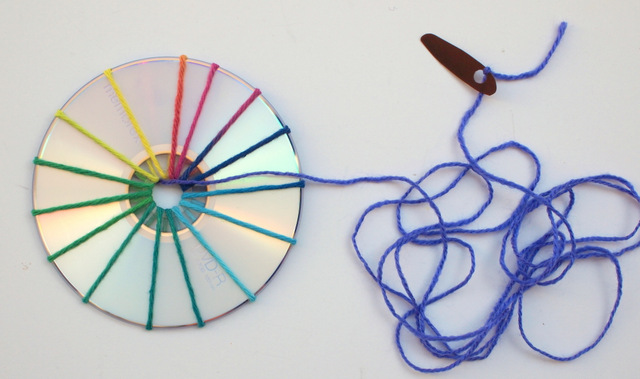
First, we're going to put on our warp strings. Cut a piece of yarn (about 6'). Then, tie it to your cd. (I tied the knot to the shiny side because that was my back side.) Then, wrap your yarn an odd number of times around your cd. (I wrapped mine 13 or 15 times.) Make sure to pull the warp strings tight. Then, tie your string in place.
Now you're going to start weaving. Cut out a piece of yarn (I cut my pieces 6'-8'). Tie it to your warp string on the back. Then, pop the string through the hole to the front side (the white side) and tie on your "needle." (Mine was made from a plastic lid.)
Now weave! Simply go over one warp string and then under the other warp string. Keep repeating this process, making sure to pull your string tight as you go.
Sometimes I used my plastic lid needle and sometimes I used a piece of masking tape (when I wanted to add beads.) When you switch strings, simply tie the new yarn to the old yarn and then trim the strings, leaving a little bit of ends left. Hide the ends under your weaving and no one will be able to know that it's there. And when you're adding beads, be sure to add one at a time!
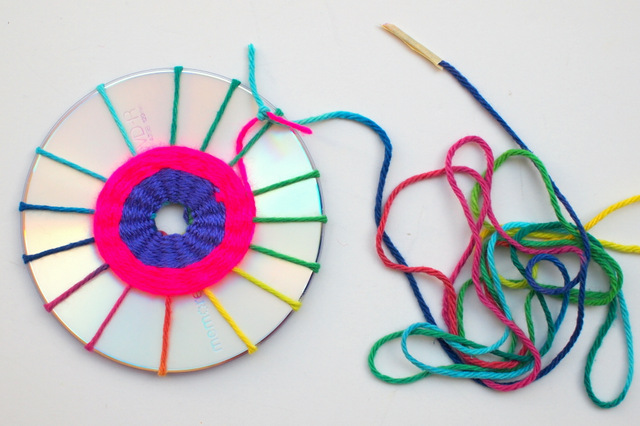
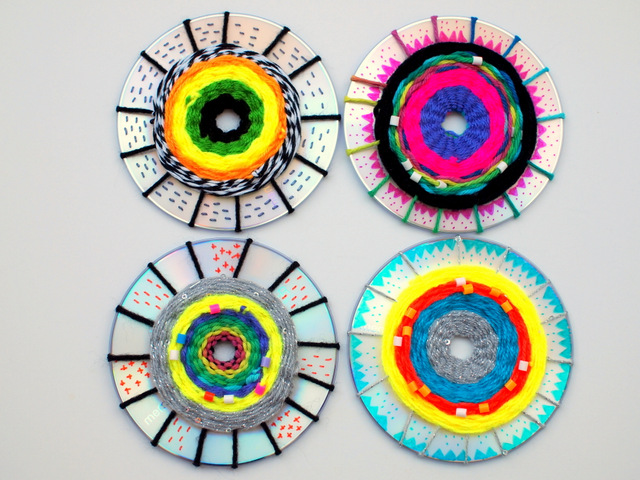
Keep on going! When you're finished, tie your string to a warp string and hide excess bits under your woven circle. Then, use a Sharpie to add your final touches!
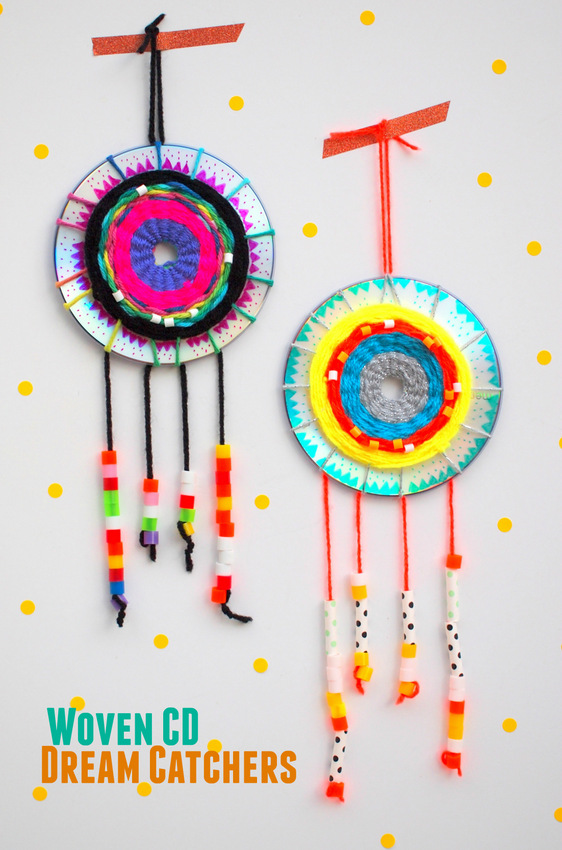
Aren't they lovely?
You can keep them as they are, or turn them into dream catchers! To turn them it into dream catchers, tie on strings and beads as shown below.
And now you have some lovely, woven cd dream catchers
Looking for other fun CD crafts? Well, you're in luck! Today's post is part of a kids crafty challenge! Here are 10 other ways to make cute kids crafts with CDs!
- CD Doughnut | A Little Pinch of Perfect
- Recycled CD Spinning Toys | Artsy Momma
- CD Lion | Crafty Morning
- Recycled CD Frog Craft | Fun Handprint Art
- Recycled CD Cookie - Duckling gets a cookie? | Glued to my Crafts
- Recycled Flamingo CD Craft | I Heart Arts n Crafts
- Recycled CD Peacock Craft | I Heart Crafty Things
- CD Mosaic | In the Playroom
- Recycled CD Hippo Craft | Artsy Craftsy Mom
- Balloon CD Hovercraft | Hello Wonderful
Let's keep in Contact!
Happy making, friends!

