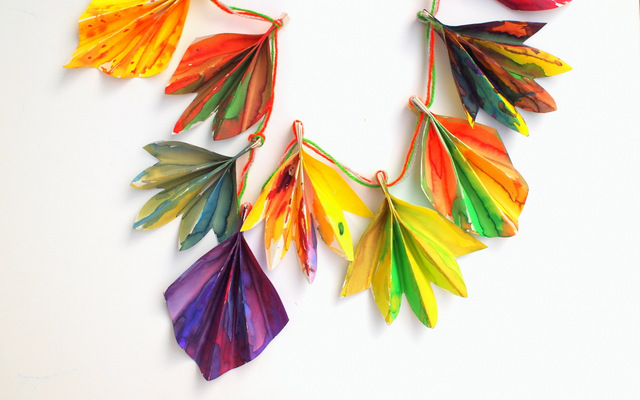
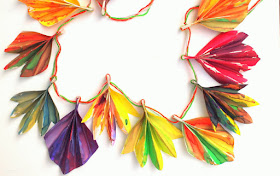
I came up with the idea after reading some fall-themed books with my son. Seeing all the beautiful colored leaves in the books made me miss the fall leaves back on the East coast. And then it hit me- why not make our own? Bring a bit of fall to our forever-summer state. And so, my son and I got to making and painting together. The results came out so beautiful that he insisted we hang the banner up in his room to spruce it up.
Don't have time to paint leaves? Try this easy origami paper version instead!
Materials Used:
- Thick paper (We used sketch paper
instead of Watercolor Paper
because it was easier to fold and hole punch.)
- Paint brushes
- Liquid Watercolors
- Plastic Tray
- Art Palettes
- Scissors
- Hole Puncher (We got our from Target and LOVE it.)
- Yarn
- Stapler
Here's how we made our paper leaf banner!
First, I cut out a bunch of 5 1/2" x 7" rectangles.
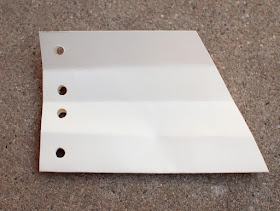
Then, I took my rectangle and folded it in half, then in half, then in half again (along the length.) (This way I had lines to guide my accordion folds later.) Then, I punched a hole in one end.
Then, I unfolded most of my folds until my paper was only folded in half. I cut a slanted line on one side (right in the image above) to give the general shape of a leaf. (The leaf's point is in the middle of the paper.)
Once I had this general shape down. I cut out several different types of designs on my slanted side to make various leaves that looked realistic when refolded.
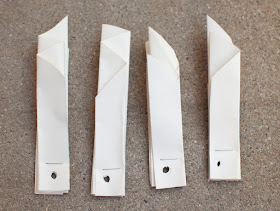
Then, I open up my paper and accordion folded the paper along my pre-folded lines. I stapled the folds together.
I opened up my accordion folds like a fan and pushed down on the leaf's edges to make sure they stay opened. I ended up with some really lovely and modern leaves.
(Apologies if my directions seem rather intense. But I promise that once you make one leaf, you'll become a leaf making factory and churn out a whole bunch more.)
Then, we grabbed your watercolor paints and painted away! At first we we looked at some photos of fall leaves and choose fall-themed colors. But then my son requested blue and purple too because he really loves those colors.
I made a whole bunch of leaves for us to paint, but it took him 1/2 an hour to just finish painting one! He was very set on painting both the front and back and all the folded nooks and crannies.
So while he worked on his leaf, I just splashed the rest with beautiful, vibrant colors. (Don't you just looove the pigmentation of Liquid Watercolors. Really, gorgeous.)
Once our paint dried, I tied the leaves to a 3 long strands of yarn. And that's it!
I really, really love how this activity turned out. I hope you enjoy trying it out with your children too! I'll bet it would make a wonderful play date or classroom art activity. Couldn't you just imagine several kids painting side-by-side to create beautiful fall-themed decorations?
And if you liked this simple painting activity, check out these 4 other painting activities below!
- Painted Cardboard Castles
- Painted Paper Plates
- Paper Plate Dragons
- Scrape Art- Easy Abstract Art with Kids
Let's keep in Contact!
Pin It


