Paper Tube Christmas Wreath!
This post contains affiliate links. Thank you for your support!
Materials Needed:
(Many thanks to Stampin' Up for sending us beautiful paper, stamps, washi tape, and ink pads to try out!)
- Paper (We used fancier card stock, but construction paper would work great too!)
- Markers
- Scissors
- Ruler
- Pencil
- Stamps and ink pads
- Washi Tape
- Stapler
- Additional Stickers
Let's Make A 3D Paper Tube Christmas Wreath
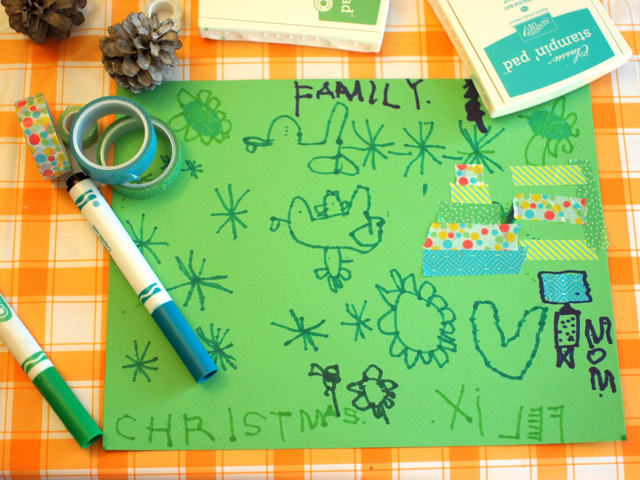
Each wreath consists of two pieces of paper.My son and I used stamps, ink pads, Washi Tape, and markers to decorate a sheet of paper. (It would also be lovely to use one of your child's painting projects too!)
Here's a photo of one of our decorated pages:
Once we were both satisfied with our designs, we folded the paper in half lengthwise. Then, we drew a line across the open side about 1/2 an inch up.
(It's important that you draw the line on the open side, otherwise the next step won't work. We made this mistake!)
Now, make cuts starting from the folded side up to the drawn line.
Note: I made these cuts. If you wanted your preschooler to do it, you could also draw out lines to guide their cutting.

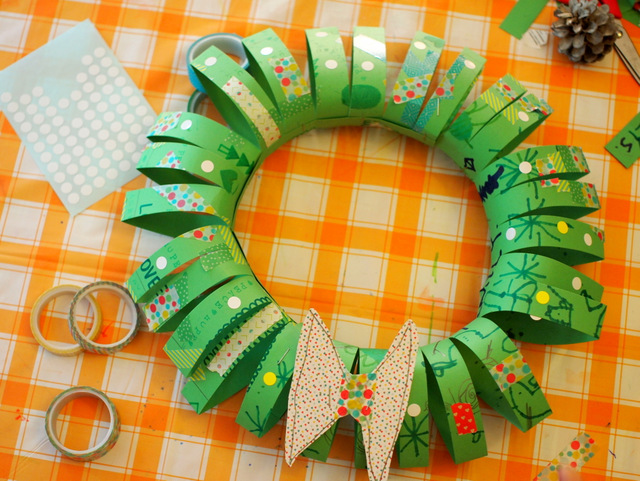
Once you're done cutting, curl the paper into a tube shape. Then, staple it shut.
Do the same thing with the other sheet of paper. Then, staple the two tubes together. (I did this by cutting apart one of the end loops from one tube and then stapling them inside the other tube.)
Give your wreath some extra pizzazz with extra pieces of washi tape, circle stickers or a little paper bow. Then, voila! You're all set! You now have a beautiful kid-made Christmas wreath ready to hang up for the holidays!


