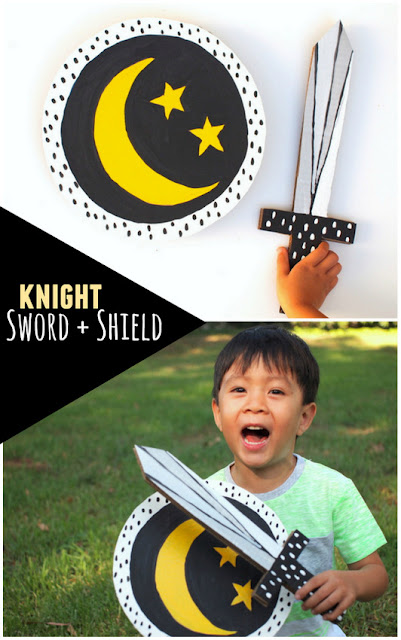
Make a Knight Sword and Shield
Note: This post contains affiliate links. Thank you for your support! For my full disclosure policy, click here.
Now, if you're looking for some great books or movies to go along with this craft, here are some great books to stir your child's imagination!
Our favorite Knight Themed Books and Movies
- The Knight and the Dragon
- The Marshmallow Incident
- The Princess Knight
- The Knight at Dawn
- Justin and the Knights of Valor
- Mike the Knight
- Good night, Good knight
- There was a dragon who swallowed a knight
- King Arthur and the Sword in the Stone
Let's Make a Cardboard Sword and Shield!
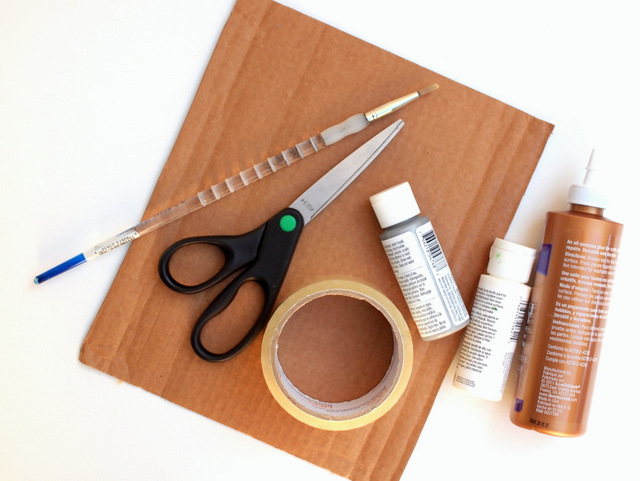
Materials Needed:
Lots of Clean Corrugated Cardboard
ScissorsCraft Paint (I used black, white, yellow, and silver)
Tacky Glue
Pencil
Paint Brushes
Packing Tape
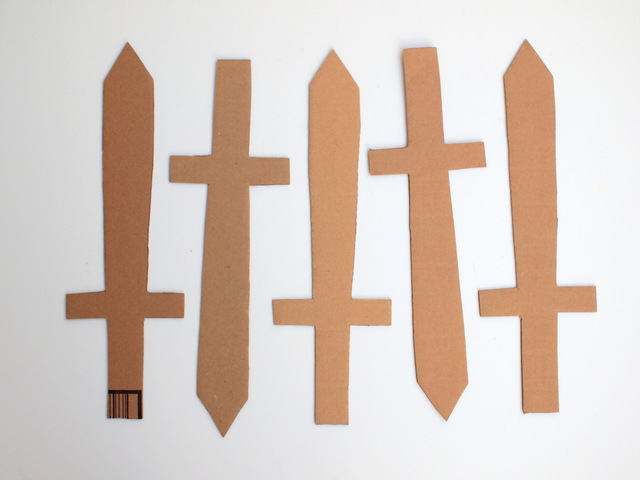
First, cut out a shield and sword shape from your cardboard. Check and make sure the size of your toys fits your child's hand. (I had to shrink down my sword’s handle so that my son could properly hold it.)
Once you have the right sizes, trace and cut out 4 more identical sword
shapes.
(Note: After playing with our sword and shield for a bit, I
noticed that the sword held up, but the shield was looking a little worse for
wear. We only made ours one layer
thick. So if you have extra cardboard,
I’d definitely recommend cutting out another identical shield shape too.)
Use tacky glue to attach all 5 sword shapes (and 2 shield shapes). Once your glue dries, your sword (and shield) will be strong, sturdy, and ready for some rough and tumble play!
Note: Don’t use hot
glue. It just doesn’t work. Trust me. I tried, and the glue cooled down way too
quickly. Nothing stuck together.
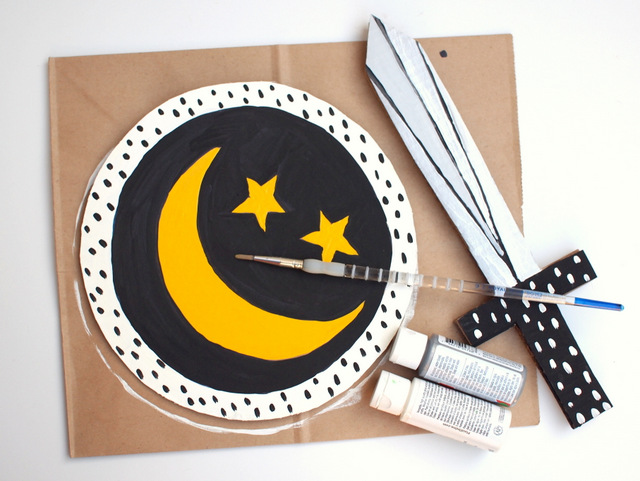
Use your pencil and sketch out a design on your sword and
shield. Then, have fun and paint them! (Optional: Protect your paint job with a layer of this. It's our go-to for jobs like this!)
Once your paint dries, it’s time to make a handle for your
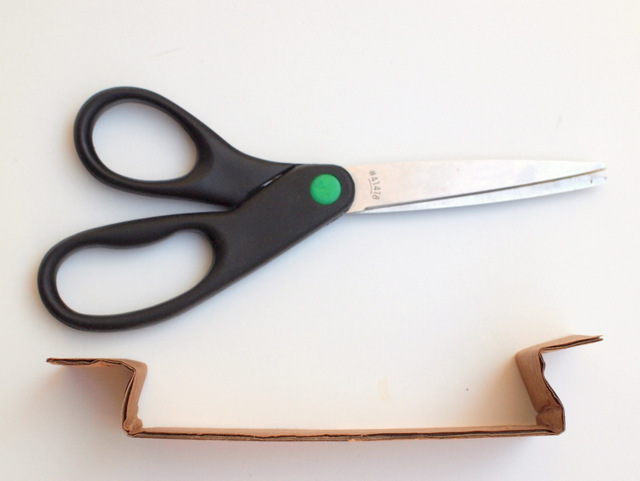
shield. Cut out a thin strip of
cardboard. Bend the two ends as shown in the photo.
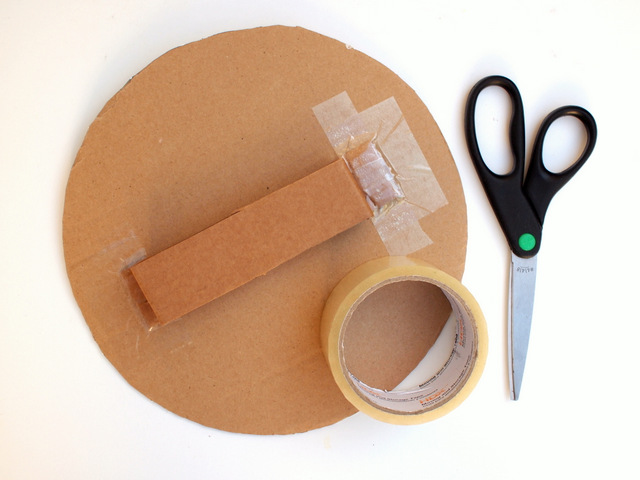
Have your child hold the handle. Make sure his or her fingers can comfortably
grip it. Once you’re satisfied with the handle’s
size, use packing tape to attach your handle to the back of your shield.
That’s it. Hooray! You’re done.
Now your child is all set to protect castles, journey on long
adventures, and befriend some dragons!
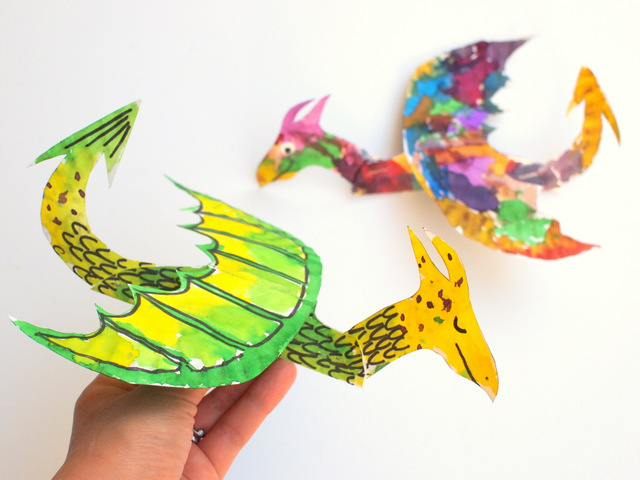

Like these cute paper plate dragons, perhaps?

Or, maybe they could ride their very own dragons?

Hope you have a great time making this toy for your kids. Happy making, friends!
Let's Keep in Contact!
You can always find more fun ideas on my
Pinterest, Facebook, Instagram, or Twitter accounts! (Or subscribe to my email mailing list by filling out the pink bar at the top of the screen.
Happy making, friends!


