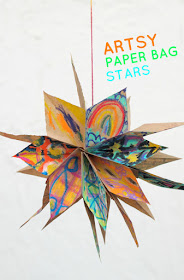
Artsy Paper Bag Stars
This post contains affiliate links. Thank you for your support! For my full disclosure policy, click here
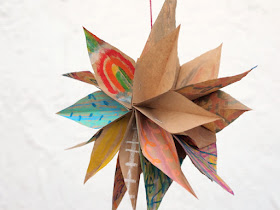
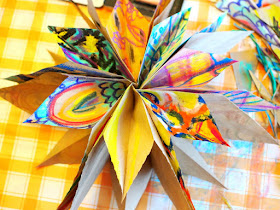
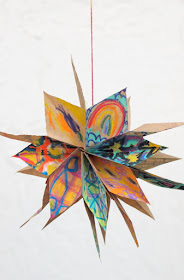
Aren't they pretty? I definitely think these paper bag stars look just as nice as the paper star lanterns that you can buy.
Let's Make some Artsy Paper Bag Stars!
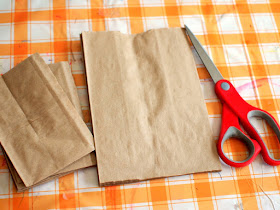
Grab 7 paper bags. (We just used brown paper bags but I bet white paper bags would look lovely!) Cut off the bottoms of the bags (the sealed part).
Now, it's time to decorate the bags. When you're decorating your bags, be sure to decorate one front side and both sides. (I unfolded the bag so you can see the side portion.) These will be the most visible when you make the star, so you want to make sure to add colors to those portions.
Now grab your Sharpies, Crayons, Markers, oil pastels, solid tempera paint, stickers... whatever you want and decorate away!
:) My son surprisingly really enjoyed this portion of the activity. He said he liked that he could just "shut off his brain" and draw.
Ok. Once your 7 bags are decorated (front and two sides), it's time to tape them together. Grab your
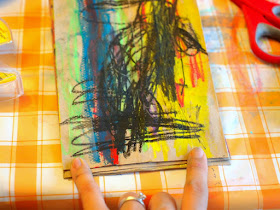
double sided tape and tape the bags together by placing double sided tape on both sides of one bag and then sticking another bag on top of it. (I placed my fingers where the tape was in my photo.) Keep repeating this process until your bags are stuck together.
Then, hole punch your bags and use a piece of yarn to loosely tie the bags together. (You want it to be loose, so you can "open" up your star.) Then, cut the top corners of your bag off to create a house shape.
Now comes the magic part! Pull your paper bags apart and watch a star form! Use double sided tape to attach the first and last bags together. Then, depending on the strength of your double sided tape, you may have to staple the bags together. (Oil pastels made the bags pretty slick, so my double sided tape wasn't as strong.)
Then, tie a long piece of yarn to your yarn loop to hang your star up!
Note: I found my star to have too many points that looked brown, so I cut off some of the points (back parts of the bags.) This way I revealed the front decorated portions of the bags.
Voila! Aren't these fun? They're such a nice way to showcase your child's artwork. We're definitely making some white versions this Christmas for a fun Christmas themed craft.
Happy making, friends!
Pin It

