Let's Weave a Rainbow!
A Little Background and some Tangents...
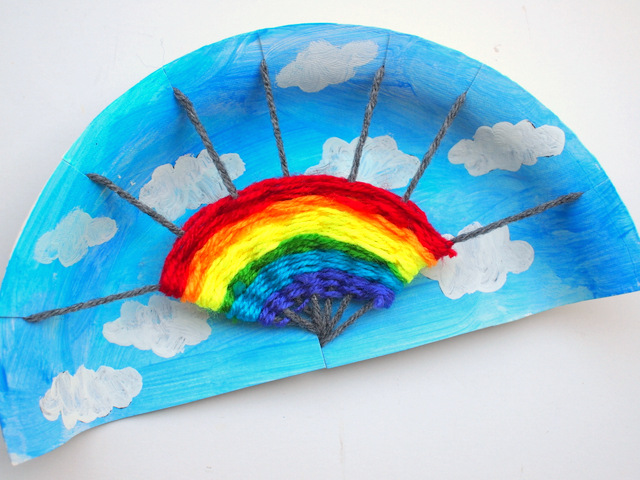
Instead of doing trees, I made myself a rainbow.
Oh! It's time for 2 random tangents:
1) At my son's preschool they have this lovely poem that they say every day with the kids:
Chase a few rainbows
Swing on a star
Keep your face to the sun
And be the best that you are.
2) And... if you are like me and always on the lookout for good books... here are our 15+ favorite books on rainbows:
- A Rainbow of My Own
- Planting a Rainbow
- The Magic School Bus Makes a Rainbow
- The Rainbow Goblins
- The Rainbow Book
- Elmer and The Rainbow
- My Many Colored Days
- The Day the Crayons Quit
- Moonbear's Skyfire
- Mix it Up
- A Day With No Crayons
- Red: A Crayon's story
- The Crayon Box that talked
- Mouse Paint
- Little Blue and Little Yellow
- A Color of His Own
- Quest
Ok! Let's Weave a rainbow!
Notes:
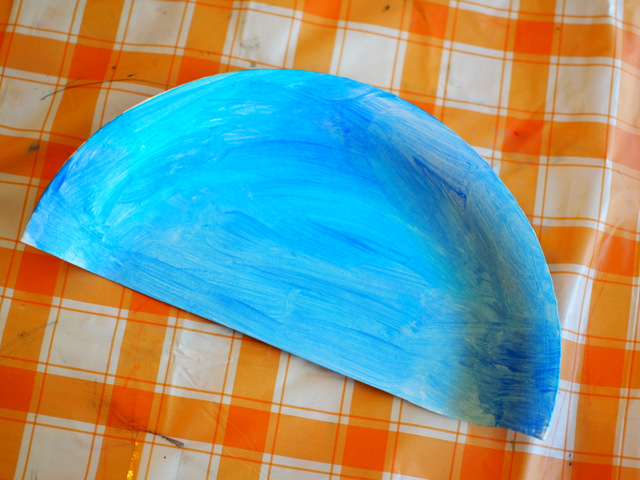
- Usually I encourage using cheap paper plates for crafts, but this time you need to use nice thick sturdy ones.
- I added clouds later on. It made the sky look nicer that way, I think.
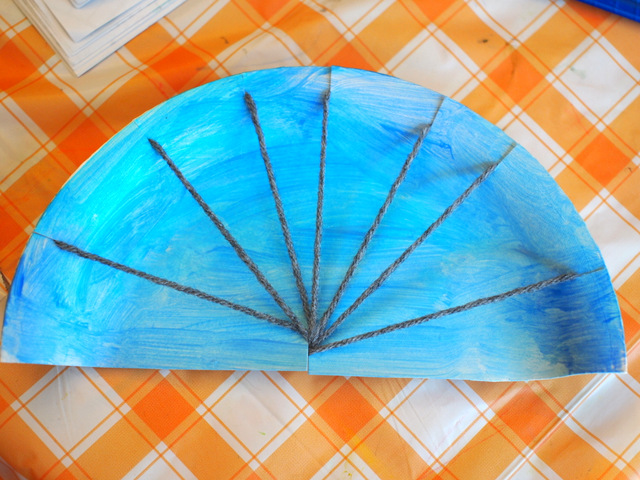
Then, I cut out 7 slits on top of the plate and 1 slit on the bottom.
Then, I created my loom with some yarn. (I tied the two ends in the back.)
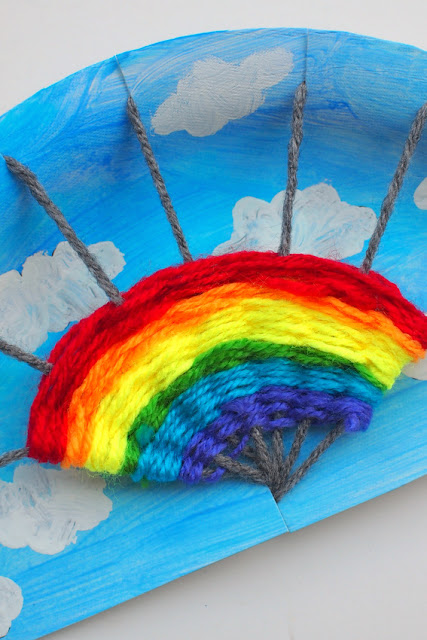
Then, I started weaving the rainbow, starting from purple first. I tied on the purple strand to a grey one. Then, I wrapped masking tape around the other end of my purple yarn to help me weave faster. To weave, I simply went over, under, over, under, etc... To change colors, I tied on the next color yarn.
Once I finished, I tied on the red strand to a grey one.
And that's it!
I really hope you enjoy making this craft with your kiddos too!
Looking for more fun weaving crafts?
Looking for more rainbow crafts?
Happy making, friends!


