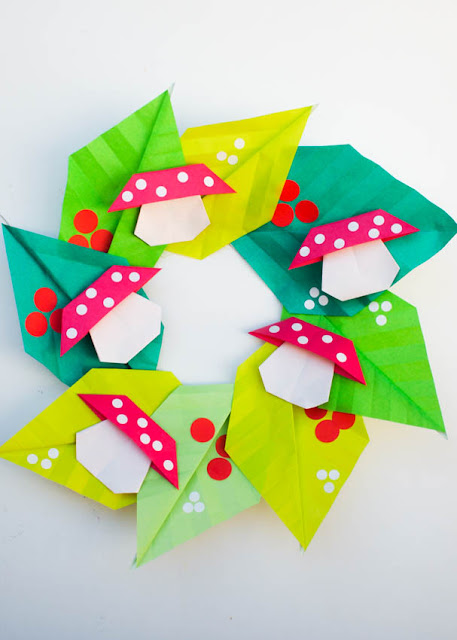
So, in hopes of bringing a bit of luck to our family (and yours) here's a fun origami craft to ring in 2017.
(We're making an origami mushroom wreath!)
This post contains affiliate links. Thank you for your support. For my full disclosure policy, click here.
To make this craft you'll need to know how to fold origami mushrooms and origami leaves.
HOW TO FOLD AN ORIGAMI MUSHROOM:
Grab your origami paper.
Step 1: Place your paper white side up. Then make valley folds along both diagonals. Open your paper up and it should look like this.
Step 2: Now, fold 3 corners in so that they are touching the middle of your paper.
Step 3. Now fold down the top portion of your paper.
Step 4: Flip your paper over. Now fold both top corners in so they touch the middle of your paper.
Step 5: Now we're going to fold the sides of your mushroom. (This was the tricky bit for my kindergartener.)
See how there are little openings under the flaps? You're going to pull up the sides of your origami and fold them down the white side of the paper. Press down on both sides to get this...
Step 6: Now fold down the top and fold up the bottom.
Flip it over and you should see a mushroom!
Once you're done, use circle stickers to add the finishing touches.
HOW TO FOLD ORIGAMI LEAVES:
I followed the directions from here. They were super clear, so there's no need for me to add my 2 cents.
After I finished folding my leaves, I cut off the stems to make them nicer looking when I attached them to my wreath.
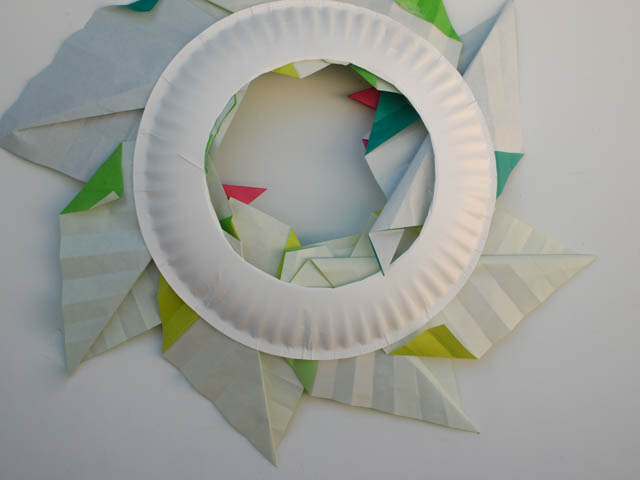
Then, I cut out the center from a paper plate and used tape and glue to attach the leaves and mushrooms. I also added extra circle stickers for some more pizzazz.
And that's all. Now you've got an easy, modern, and cheap wreath. Yup. That's my kind of craft!
More Mushroom Crafts
Apparently I have a thing for mushrooms... oh well! Here are some fun crafts that involve these adorable red and white fungi
Happy New Year and happy making, friends!


