Let's Print Kid Initials
Note: This post contains affiliate links. This means I make a small bit of change when you purchase items through the links. Thank you for your support and the grocery money. For my full disclosure policy, click here.
Everyone loves initial art, right? It's graphic and a great way to show identity and individuality. My son was no exception. He totally dug the idea of making art with his first initial. Here's how we did this project:
Let's do some printmaking!
First we cut out letters from foam sheets. Then, we drew designs on them with pencils. (Two notes: Make sure you're working on the letter backwards so that it prints the right way. Also, press down very hard when you draw your design.Now it's time to get inking! Grab a styrofoam sheet (or baking dish... whatever is nice and flat). Put a strip of block printing ink on it. (I'm sharing Amazon links here, but you'll find some really great deals at Dick Blick.)
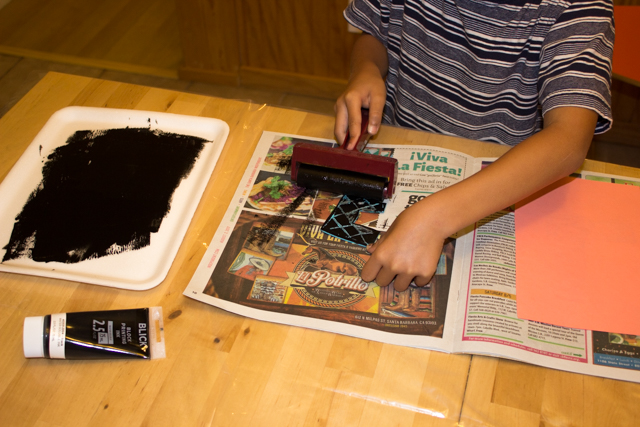
Use a rubber brayer to roll the ink out. Then, roll it over your initial. (I protected the table with a clear plastic table cloth and we worked on newsprint.)
Once your initial is covered, take a sheet of paper and rub it gently over the initial. (To make sure the print is nice and neat, we moved the letter over to a clean section of newspaper.)
Pull up your sheet to reveal the print. :) This was the neatest part!
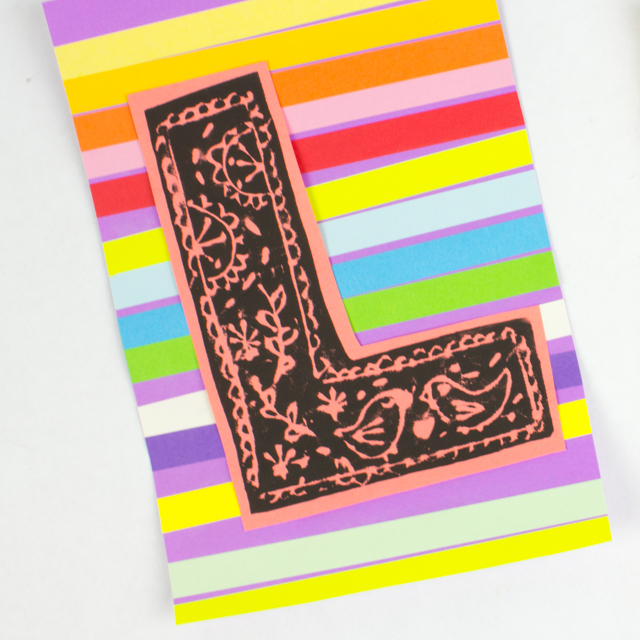
To create the colorful background, simply glue strips of paper to a sheet of paper.
Trim the strips, cut out your initial, and then glue it on.
That's it!
I hope you enjoy this festive and fun art project!
Happy making, friends!


