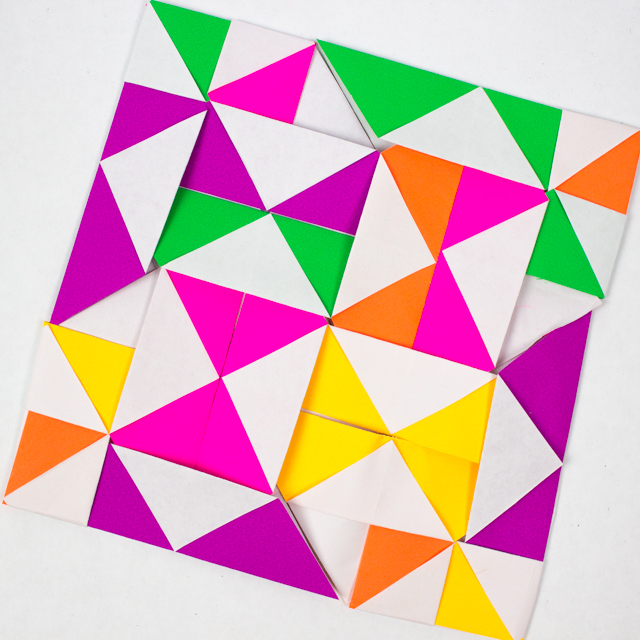
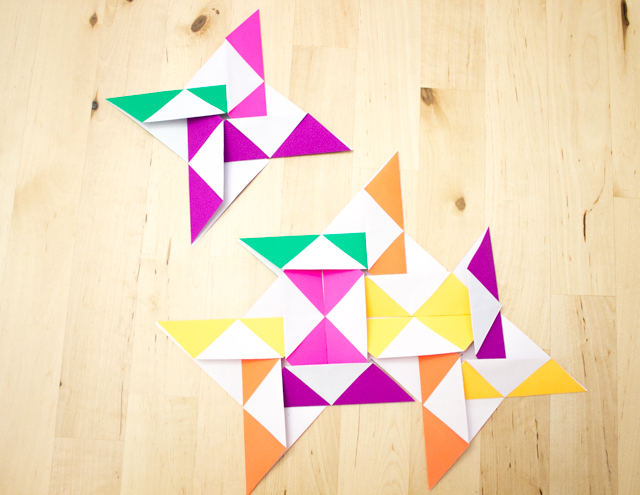
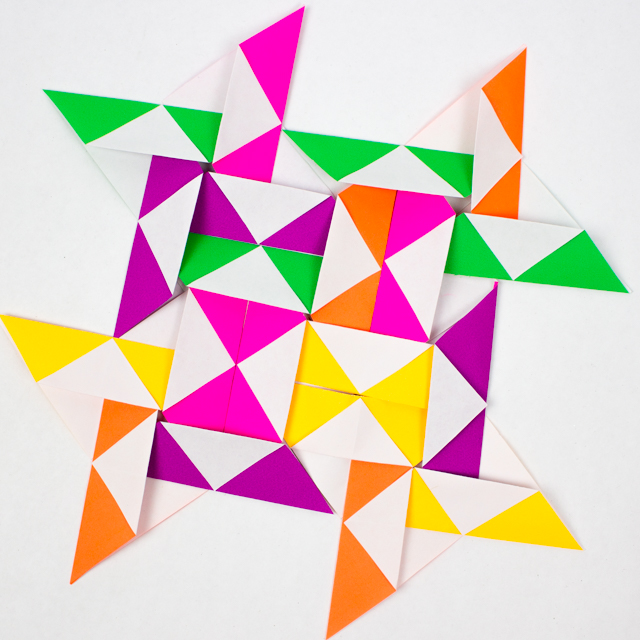
Origami Friendship Quilts
Note: This post contains affiliate links. This means I make a small bit of change when you purchase items through the links. Thank you for your support and the grocery money. For my full disclosure policy, click here.
Full disclosure: We've been going on various origami book-hunting sprees at the library. This design is not my own. We found it in an older origami book. However, since we found this particular craft awhile ago, I've completely blanked on the title of the book. I'm so sorry! I will put it in here once I find it again.
Let's Make 20 Unit Pieces
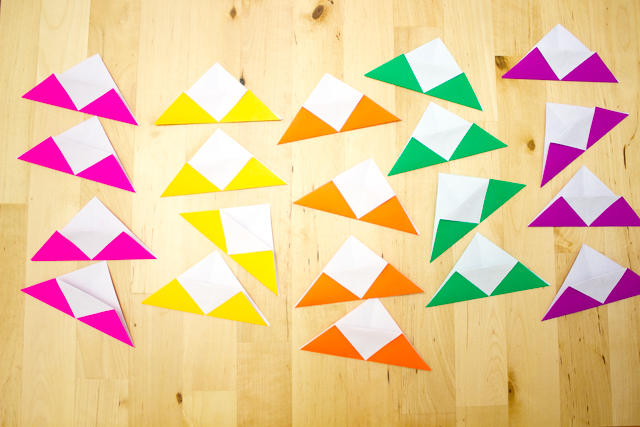
Ok. As you can probably guess, this origami quilt is made up of several different unit pieces. (20 to be exact.) Here's how to make these units:
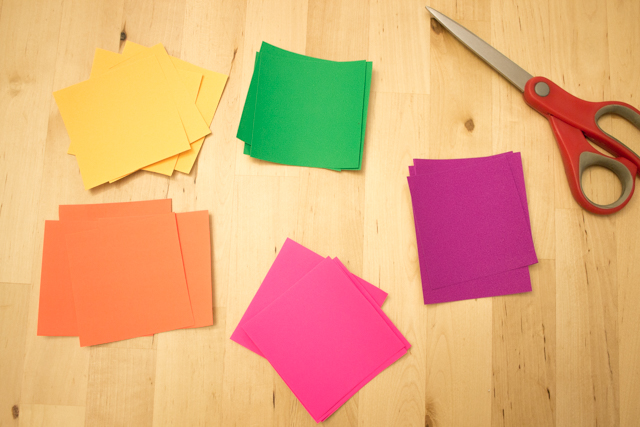
You'll need 20 sheets of origami paper. (I wanted to make a smaller quilt, so I cut up 5 sheets of paper to create 20 smaller origami sheets. Each origami sheet created 4 smaller sheets.)
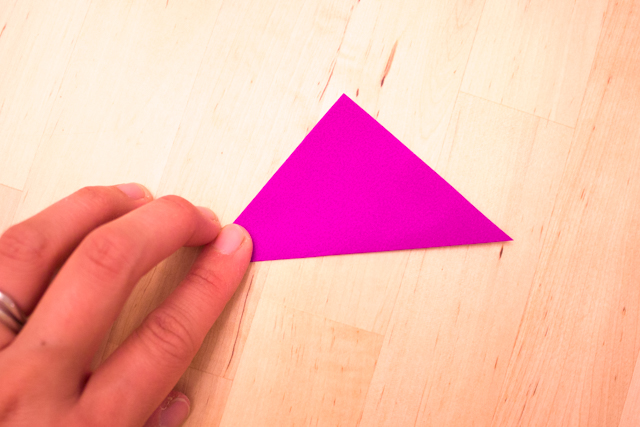
Take a piece of origami paper and fold it along the diagonal like this.
Then, fold the triangle in half and then unfold it. (This crease will help you line up all of your units.)
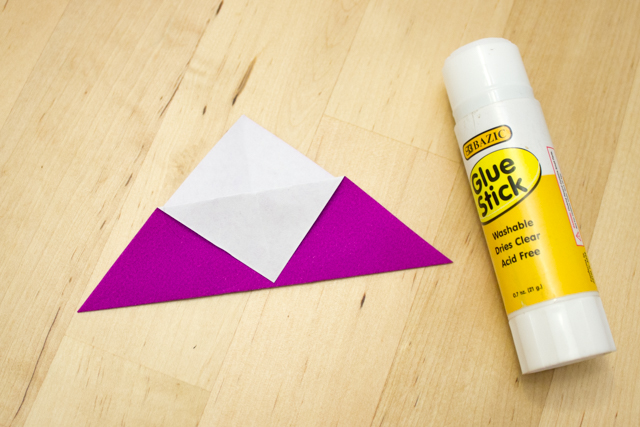
Then, fold down the tip of the triangle. Use a glue stick to hold the tip down.
Make 20 units in total.
(Ah! An origami army!)
Let's Make 5 Origami Windmills
Now we're going to take our 20 units and use them to make 5 windmill pieces. Here's how we do that!
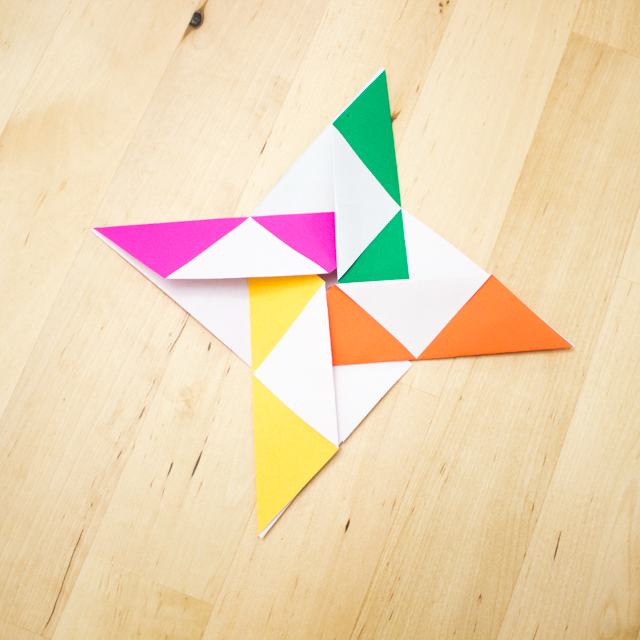
Using a glue stick, attach two units together like this. (Note that the yellow triangle slides into the pink triangle.)
Now, attach another triangle in a similar manner. (This time the orange triangle slides into the yellow triangle.) Use a glue stick to attach them together.
Repeat this process with another triangle to complete a windmill. (This time the green triangle slides into the orange triangle and the pink triangle slides into the green triangle.)
Great! Now make 5 or these windmills.
Finally! Let's Make a Paper Origami Quilt!
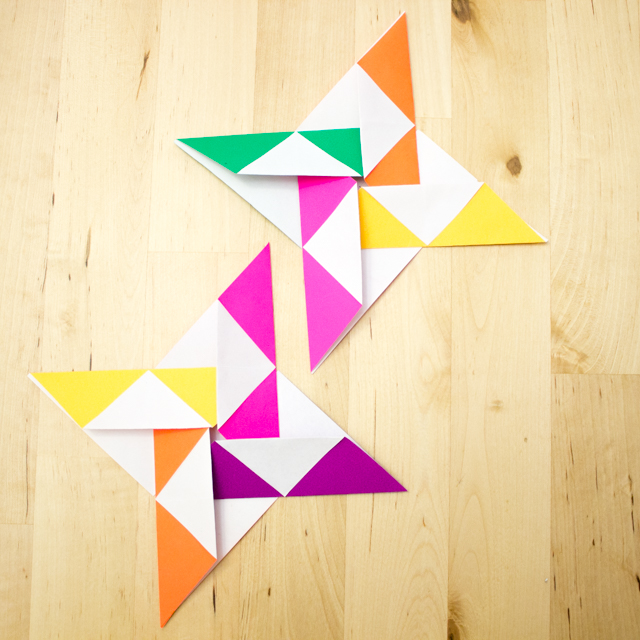
Are you still reading this post? Awesome. This means that you're serious. Fortunately, we're almost done. Now we're going to piece the windmills together to create a lovely paper origami quilt.Ok, align two windmills together like this...
And then slide them together! (Use a glue stick to attach them.) Then, grab another windmill and position it like so.
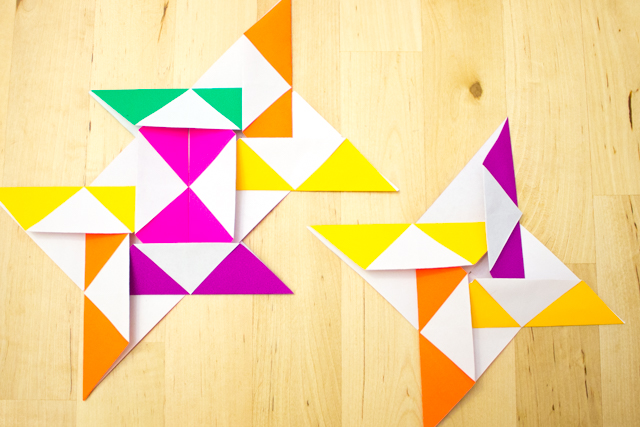
Slide it in, and glue it together. Then, align another windmill like so:
Slide it in and glue it together. Now, align another windmill over here like so...
Slide the final triangles together and glue everything in to create this lovely design!
Yes! You did it! Shake a mighty fist in the air and shout, "I am an origami genius!" Go ahead I won't judge.
Done? Ok! You can keep your design like this. Or, you can make it look more like a quilt. To do this, fold back the pieces that stick out. Use clear tape to secure them.
And you're all set!
Hope you have fun trying out this combined math and art activity! And of course, if you're looking for more activities that combine math and art, check out the links below!
More Fun Activities that Combine Math and Art
Happy making, friends!

