Giant Origami Painted Butterflies
Note: This post contains affiliate links. This means I make a small bit of change when you purchase items through the links. Thank you for your support and the grocery money! For my full disclosure policy, click here.
A bit of background on this craft...
My son is a big origami enthusiast. When he first showed me this origami butterfly, I knew that I had to share it on the blog. Today we added a twist to the traditional origami craft by using heavier weight drawing paper instead of traditional origami paper. We also used this brand of liquid watercolors to paint the butterflies in the end!How to Fold Origami Butterflies:
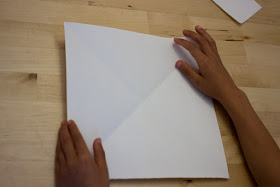
1. Fold along your paper's diagonals so that you have an "x." (These are my son's hands. He wanted me to photograph him making the craft.)
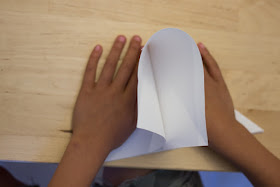
Step 2: Slowly push and fold your paper along the diagonal folds like so...
and then you will eventually get a triangle shape like this:
Step 3: Turn the triangle upside down.
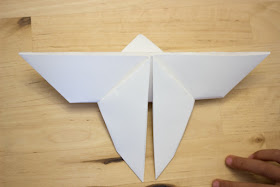
Step 4: Then, fold down the flaps on both sides to get this:
Step 5: Flip your paper over.
Step 6: Then, push the bottom corner up like so...
and then push the paper down on each side like so.
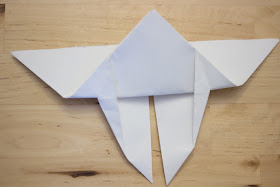
Step 7: Flip the butterfly over and you'll see this:
Step 8: Fold down the top triangle piece inside the body. And you're all set!
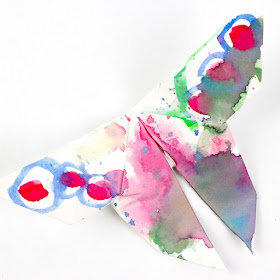
Step 9: Paint! (We used this brand of liquid watercolors.)
(By now my eldest ran away to read. My youngest then stepped in because he really wanted to help me paint.)
And here are our final results. Aren't they pretty?
Hope you have fun trying these crafts out for yourself!
And here are...
5 More Awesome Butterfly Crafts:
- Giant Fluttering Butterflies
- 3D Butterfly Wrapping Paper
- Origami Butterfly Toys
- Butterfly Notebooks
- Colorful Paper Plate Butterflies
Happy making, friends!
Pin It

