How to Make Recycled Tin Garden Markers with Kids
Note: This post contains affiliate links. This means I make a small bit of change when you purchase items through the links. Thank you for your support and the grocery money! For my full disclosure policy, click here.
Materials Needed:
- Disposable Baking Pans
- Scissors
- Corrugated Cardboard
- Pen / Pencil
- Sharpie Markers
- Popsicle Sticks
- E6000 Glue
Let's Make Some Garden Markers:
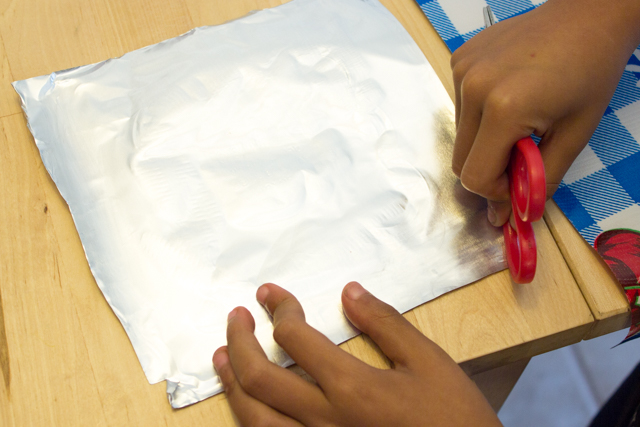
1. Cut the bottom out of your baking dish.2. Rub the baking dish with the scissors' handles to smooth out the bumps.
(Note: The corners of pan will be sharp. My eldest actually nicked his finger on a sharp edge! So just be careful.)
3. Place the baking sheet on top of a piece of corrugated cardboard. Use a pen to draw your designs.
4. Cut your designs out.
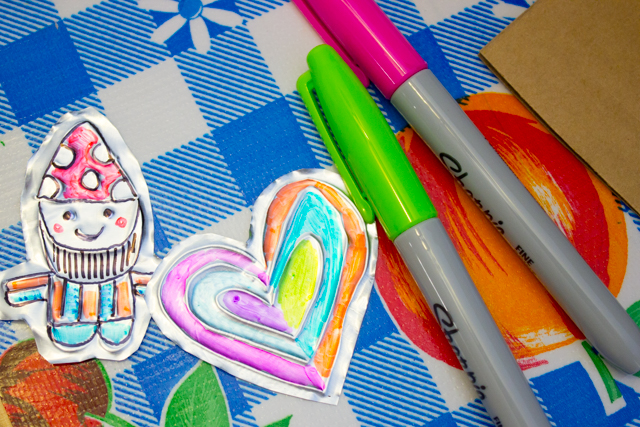
5. Flip your designs over so that your drawings feel bumpy. (Or, just color the side you drew on if you like that look.)
6. Use Sharpie Markers to color your designs in.
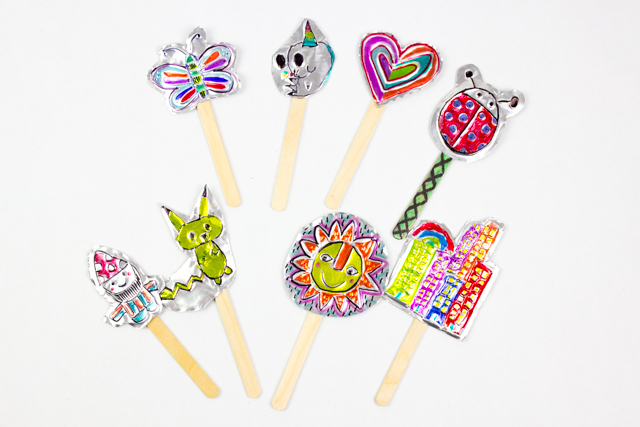
7. Glue them onto popsicle sticks with E6000 Glue.
(We made these during a playdate with friends. Aren't the designs cute?)
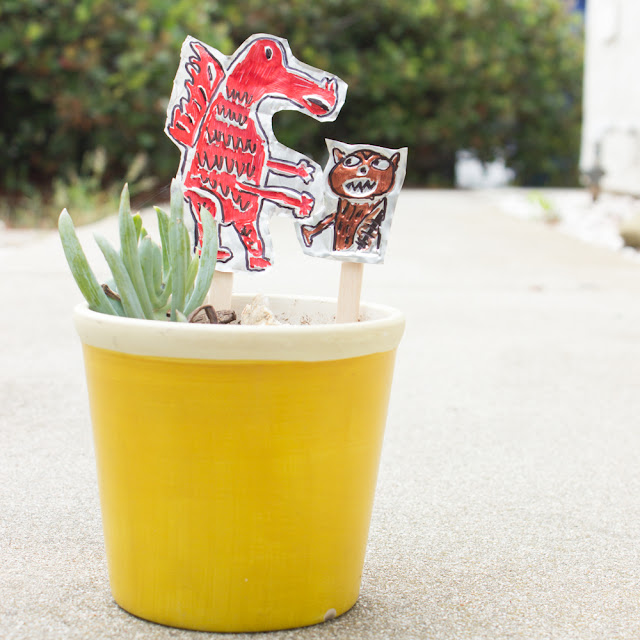
After your garden markers dry, stick them into your garden!
Happy making, friends!


