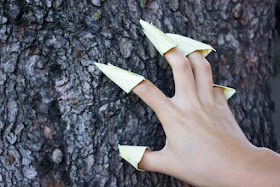
(*And let's be honest, real fighting too... ack! Summertime shenanigans currently abound over here...)
How To Fold Origami Paper Claws in 10 Steps
(Super, super easy and only requires 2 sheets of notebook paper!)
How To Make Paper Claws with Kids
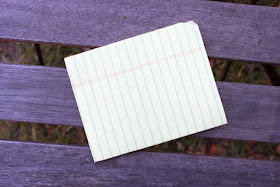
First, let's cut our paper into 8 equal rectangles:
1. Grab 2 sheets of paper and a pair of scissors. (One sheet of paper will make 8 claws. If you want enough to make 10 claws, you'll need 2 sheets of paper.)
2. Fold a paper in half lengthwise. (Hot dog way- as my son calls it.)
3. Fold it in half again.
4. Fold it in half again.
5. Unfold it again and you'll have 8 equally sized rectangles (for 8 claws.) Cut along the lines to make 8 tiny rectangles.
Now let's fold some claws!
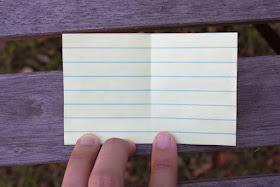
Grab one of your tiny rectangles.6. Fold it in half and then unfold.
7. Fold down the upper left corner of the paper so that it touches the middle fold. Then, fold the right bottom corner up so that it also touches the middle fold.
8. Mountain fold your paper along the middle (fold made in step 6).
It should look like this now.
9. Fold the back flap over the front.
10. Fold the other flap over the front.
And it should look like this.
(There will be an opening right where my finger is pointing. Stick your finger in it to make a claw. )
Repeat this 4 or 9 more times to give yourself a whole hand or two hands worth of claws!
RAWR!
Looking for more Fun Origami Crafts?
Check out the links below!
Looking for more Crafts to Encourage Imaginative Play*?
*aka fighting... ack!
Happy making, friends!
Pin It


