How to Make Sparkly and Marbled Shell Necklaces
Note: This post contains affiliate links. This means I make a small bit of change when you purchase items through the links. Thank you for your support and the grocery money! For my full disclosure policy, click here.
First, grab your shells (we purchased ours from Michael with a coupon- woot woot! But Amazon also has a great collection of plain sea shells).
Then, drill a hole into your shell. (We followed Martha Stewart's directions for drilling shells and placed our shell curvy side up on top of a wet sponge. Then, we drilled them with a small drill bit.)
Let's Marble Some Shells!
We made these with our older kids (6+).
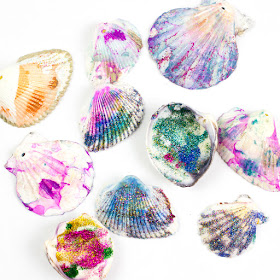
To marble our shells, I just followed these marbling instructions here. We also used painted nail polish on portions of the shell too!
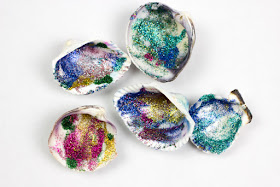
To add a bit more flare, we used glitter glue to add a bit of sparkle.
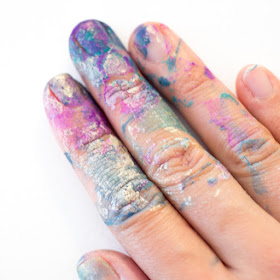
A note of a warning- Make sure you have some nail polish remover on hand. Or just wear gloves. Otherwise, you'll end up with magical mermaid-esque hands like I did.
Let's Make Glittery Shells!
While the older kids were marbling, the younger 2-year-olds were busy using markers to decorate their shells and then squeezing glitter glue inside. They had a blast!
(This part of the activity was inspired by Mama Papa Bubba's mermaid necklace tutorial. Definitely, check the post out. Her necklaces are so sweet and added a special gem inside for extra sparkle!)
Once the shells dried, we had a lovely collection of marbled and sparkly shells...
(Oooh! Pretty!)
And then we strung them on yarn and waxed cotton cord to make pretty, summery necklaces.
More Necklace Crafts!
Love making fun jewelry with kids? Then you'll love the crafts below:
- Clay Galaxy Necklace
- Safety Pin Necklace
- Shiny Foil Art Necklace
- Wooden Peg Doll Necklace
- Best Friend Clay Necklaces
Happy making, friends!
Pin It


