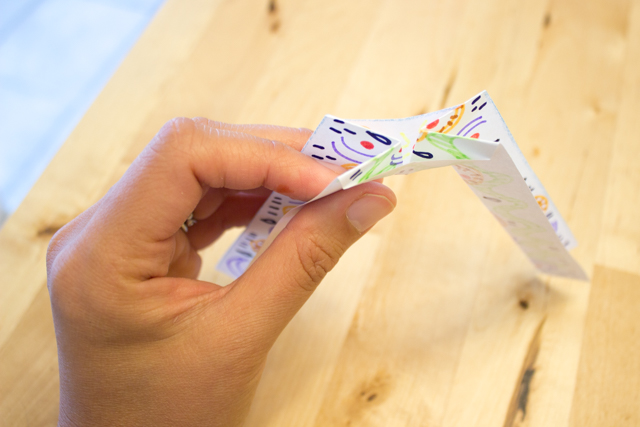
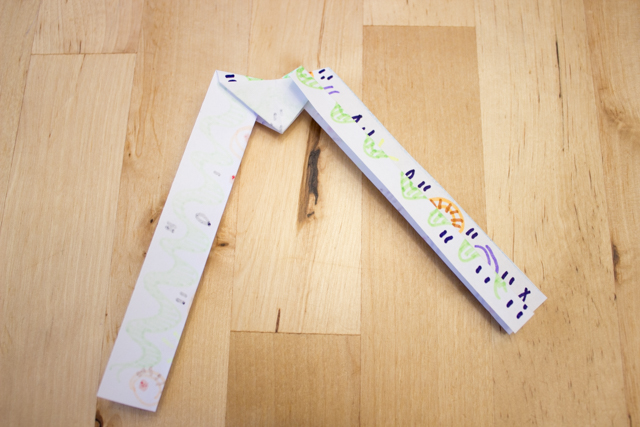
How to Fold Balancing, Rocking, and Turning Origami!
This post contains affiliate links. This means I make a small bit of money for any purchases made through the links at no additional cost to you. Thank you for your support. For my full disclosure policy, click here.
Today's tutorial comes from the book Folding for Fun: Origami for ages 4 and up. It contains quite a few simple projects that even beginners can do.
Materials Needed:
- Computer Paper
- Scissors
- Markers
How to Fold Balancing Origami
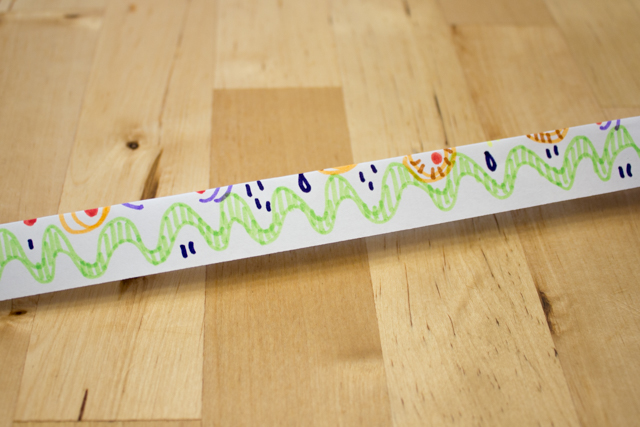
2. Optional: Decorate one side of your paper now (Or you can decorate if once you've folded.)
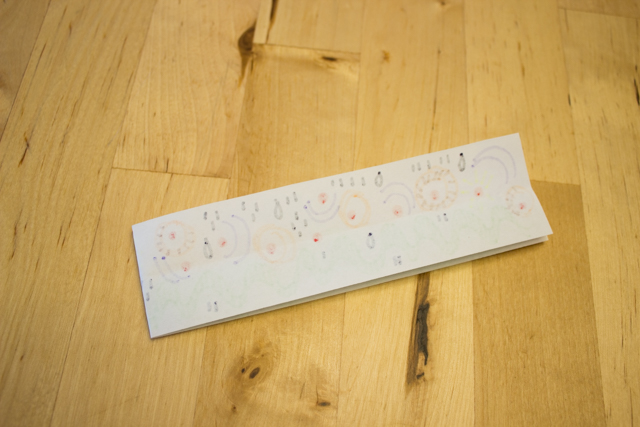
4. Open up your fold. Then, fold it in half again like a book (decorated side in)
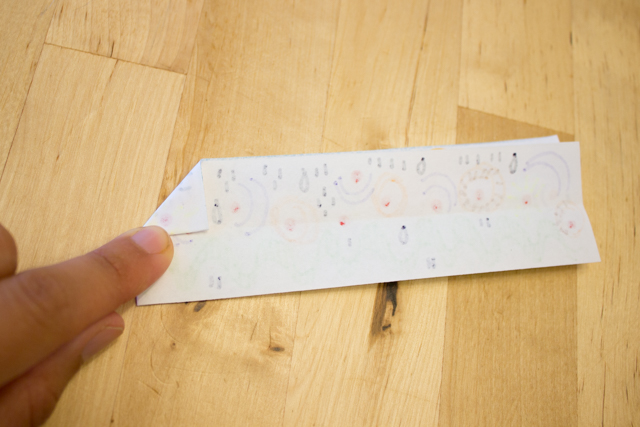
5. Fold down the upper left corner of your paper to the middle line. Then, unfold it. (This will create a crease to help with the next squash fold.)
6. Then, fold your paper like this and squash it down!
7. Flip your paper over. Repeat steps 5 and 6 with the other side.
8. Rotate your origami so it looks like this.
9. Fold down your "wings" so they are behind the body.
10. Then, unfold your wings so they are back where they started. (This will create a crease to help with the final squash folds.)
11. Push down on the center of one "wing" and then fold it so the center crease becomes a valley fold.
12. Repeat for the other side. Your origami should look like this from the middle.
13. Fold down the flaps of your wings on both sides. (4x in total for both sides of each wing)
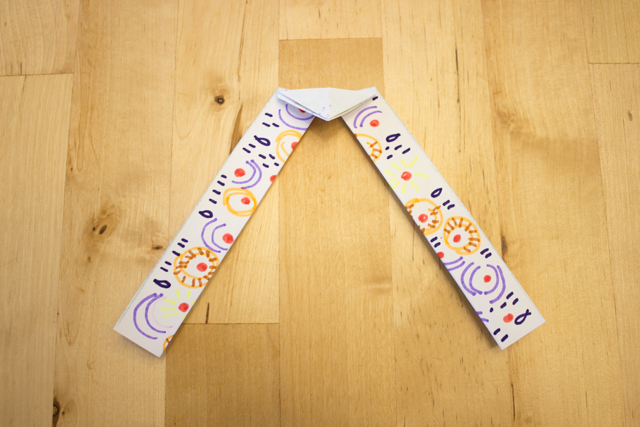
And now... balance it!
You got it!
More easy and cool origami projects:
Happy making and playing, friends!


