How to Make Pin Prick Art with Kids
Where did I get this idea from?
I was inspired to make this project after seeing an art project that my friend's 2nd grader did in Sunday School. I FELL IN LOVE with what she did and knew that I had to try it with my boys too. :)
How to make Pin Prick Art:
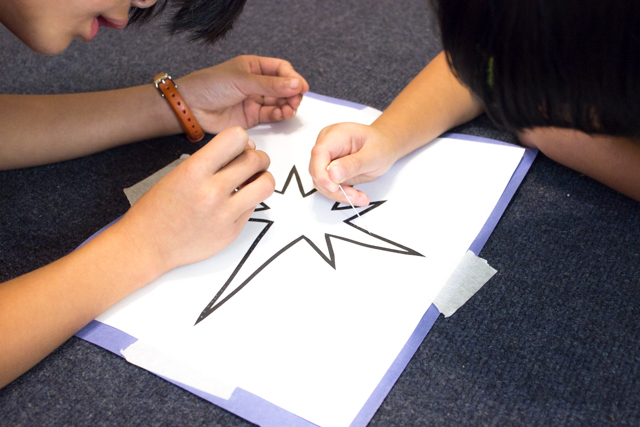
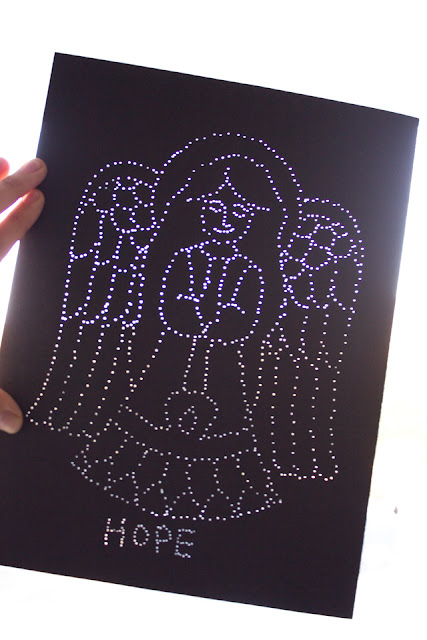
1. Look for a coloring sheet with a simple and clean design. The fewer details, the better. (My angel was a bit too complicated for my boys. But they worked on an easy star one and got beautiful results.)2. Grab a sheet of dark-colored construction paper.
3. Tape your coloring sheet to your construction paper using masking tape. Then, tape both down to a rug/carpet.
4. Grab a push pin or a sewing pin. Using short jabs, trace the coloring sheet design with lots of little pricks.
Once you've traced and pricked everything, remove the coloring sheet and hold up your finished artwork against a window. You should see a beautiful design!
Gorgeous, isn't it?
My 3rd grader and preschooler loved trying this craft alongside me. I think they were excited to use pins (which are kind of a "dangerous" element in their mind) AND they thought it was so neat to try out this different art technique.
I hope you have fun trying this out with your kids too!
Looking for More Christmas Crafts?
- Op-Art Christmas Ornaments
- Nativity Snowflakes
- Pop Up Nativity Paper Plates
- Felt and Cardboard Bird Ornaments
- Christmas Doodle Art Challenges
- Origami Paper Wreath Ornaments
Happy crafting, friends!


