Spring Quilled Paper Fairies
(Printable included!)
Note: This post contains affiliate links. This means I make a small bit of change when you purchase items through the links. Thank you for your support and the grocery money! For my full disclosure policy, click here.
Special Thanks:
I just wanted to give a quick shout out to my cousin for inspiring this craft! She and her daughter made a beautiful quilled ballerina dancer and I was so inspired to try quilling out for myself!!!
Materials Needed:
- Paper Strips
- Note: Before we start, let me just say that I'm NOT a quilling expert. We didn't use real quilling Paper. We used what we had (Star Paper Strips) and they worked fine. Alternatively, you could also just cut your own paper strips out of colored printer paper. (The strips that we used were about 1cm wide.)
- Plain Paper, Permanent Markers/ Pencils, and Crayons/Colored Pencils (if you're drawing your own fairies) or you could use this Fairy Printable that I doodled.
- White Glue
- At least 2 toothpicks (1 to roll and 1 to glue.) (Or you could also buy and use real quilling tools)
- Patience (I think this craft is definitely for kids at least in the 1st grade.)
How to Quill Paper:
I'll show you how I made these fairies. If my directions aren't clear or you want to see more advanced shapes, then check out these clear and easy directions. (I learned by reading them!)Step 1:
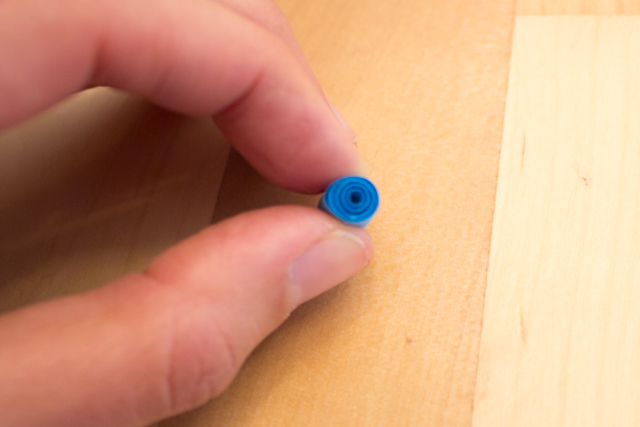
Wrap your paper strip tightly around a toothpick.
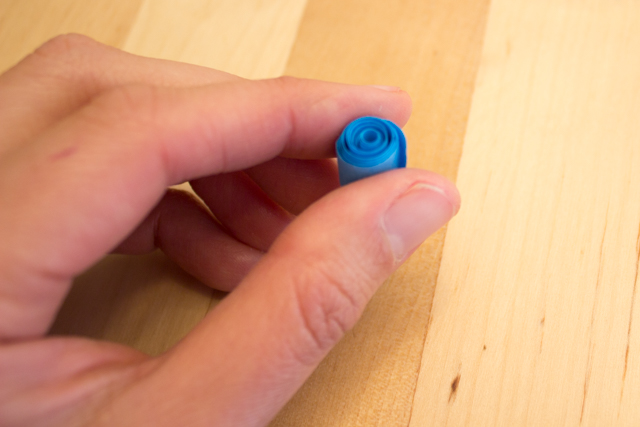
Slide it off and you'll get this coiled spiral. Now, you can glue the coil together tightly. Or....
you can let go of your coil and let it unwrap a little before gluing. You decide!
If you want to make funkier shapes (like teardrops, eye shapes, or squares), then let the coil release first before gluing.
Step 2:
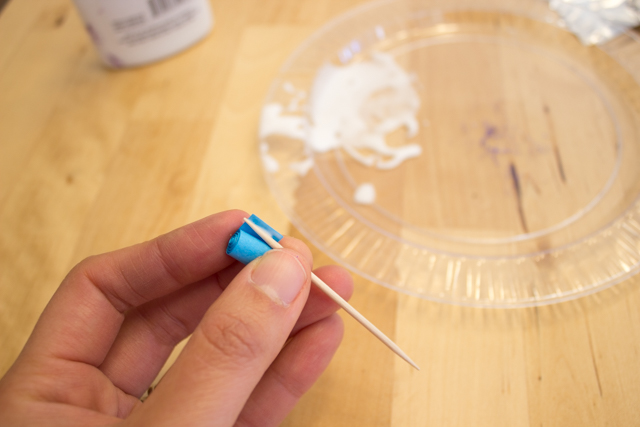
Using another toothpick, glue the end of your tightly / loosely wrapped paper strip to your coil.
Step 3:
Hold your coil tightly and count to 10. The end should stick to your coil and you're all set.
Now go make a whole bunch!
Circles are cool... but how do you make cooler shapes?
To make a teardrop: Let your coil go loose. Glue. Then pinch both ends down.To make a raindrop: Let your coil go loose. Glue. Pinch one end down.
To make a square: Let your coil go loose. Glue, and then pinch 4 sides down.
(Notice the pattern? Wrap. Glue. And pinch!)
Step 4:
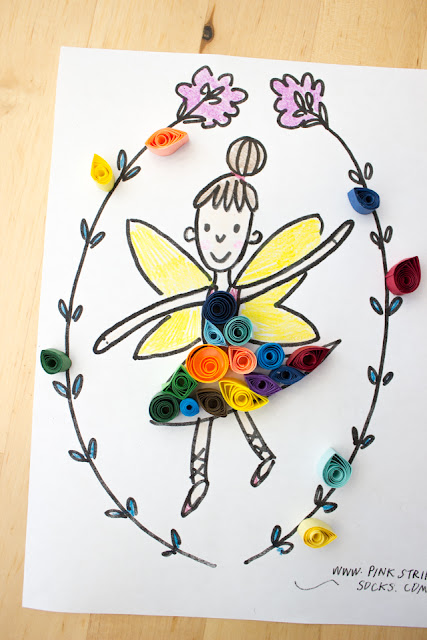
Draw your fairy. I recommend you use a pencil or non-smearing Permanent marker to draw and that you color your picture in with crayons or colored pencils. This way the glue won't smear your image!
Then glue on your quilled eyes, circles, and squares for some added oomph!
Aren't they cute?
5 More Forest and Fairy Crafts:
Happy creating, friends!


