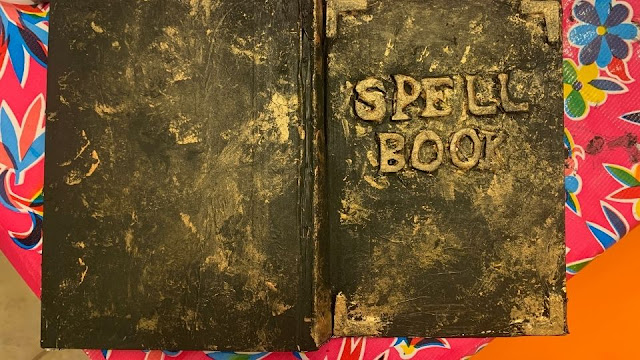
I love Halloween crafts and I especially enjoy making Halloween crafts with kids In today's project, I'll show you how the boys and I transformed old books into spooky spell books using items from around the house. This upcycling process was fun and the results were creepy and perfect for Halloween!
How to Make a DIY Spell Book with Kids
This post contains affiliate links. This means I make a small portion off of any purchases made through the links at no additional cost to you. Thank you for the grocery money! For my full disclosure policy, click here.
Before we begin, I have to give a shoutout to these two Youtube videos because they inspired today's art project. (Watch Christopher Hiedeman's video and Tina Le's video to see similar spellbooks being made!)
Materials Needed:
- Old Book
- Craft Paint
- Paint Brush and Foam Brush
- Gift Wrap Tissue Paper (Or a Paper Towel)
- Mod Podge
- Scissors
- Pencil and Paper
- Hot Glue
- Optional: Gems, Items to glue onto your book, pieces of craft foam, watercolor paint
Let's Make a DIY Spell Book:
3. Time to wrap the book to make lovely crinkly details.
Using Mod Podge and a foam brush, paint a thin coat of glue onto the front and back cover of the book. Then, carefully cover the book with a piece of gift wrap tissue, making sure to get all the nooks and crannies covered. I told my boys that the more wrinkles, the better. It made the book look aged and it placed less pressure on them to make things perfect.
(Note: If you don't have gift wrap tissue, you can also use a paper towel that's been carefully split in half to make the paper towel thinner.)
4. After the Mod Podge dries (we waited overnight), get creative and paint your cover!
We used our foam brush to cover our book in one coat of base paint (black.) Then, we scrunched up a paper towel and dabbed on a contrasting color (gold and pink.) Then, we used other thinner paintbrushes to paint extra bits of detail (like repainting letters gold to make them really pop and painting shadows with black.)
5. Wait for the paint to dry and then you have a spellbook!
Want to add extra fun details?
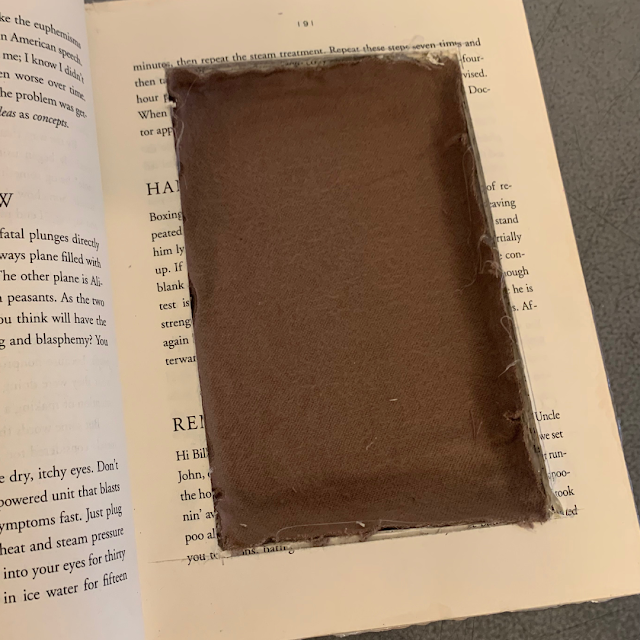
- Make a cutout inside to hide secret treasures! (We followed directions from this site.)
- Paint the edges with brown watercolor paint to make the book look even older.
- Hot glue on gems and jewels at the end to make your book really sparkle!
And that's it! If you enjoyed this Halloween craft, you can check out more Halloween crafts here. Or, check out this cool DIY dragon eye book!
Happy creating and connecting!


