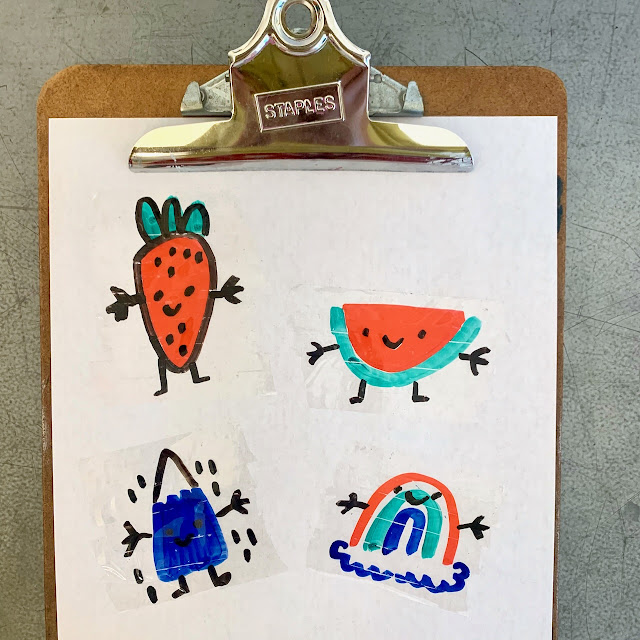
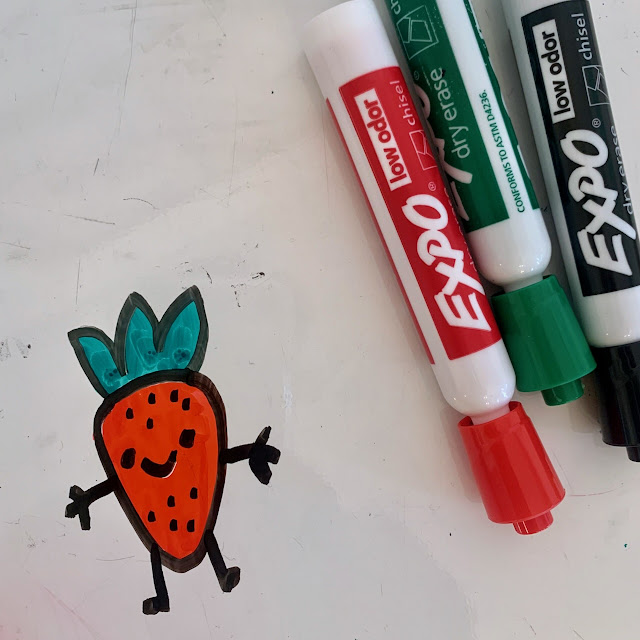
Is it just me, or does everyone have dry erase markers and dry erase boards at home now? Because of the pandemic, kids at my son's school have become experts at using dry erase markers, and last week they showed me how to make these easy DIY stickers. This cool craft is super easy and perfect for kids who love to doodle.
How to Make DIY Stickers
This post contains affiliate links. This means I make a small portion off of any purchases made through the links at no additional cost to you. Thank you for the grocery money! For my full disclosure policy, click here.
Materials
- Dry Erase Board
- Dry Erase Markers
- Clear Tape (like Scotch tape)
Directions:
1. Using dry erase markers, draw a picture on your dry erase board.
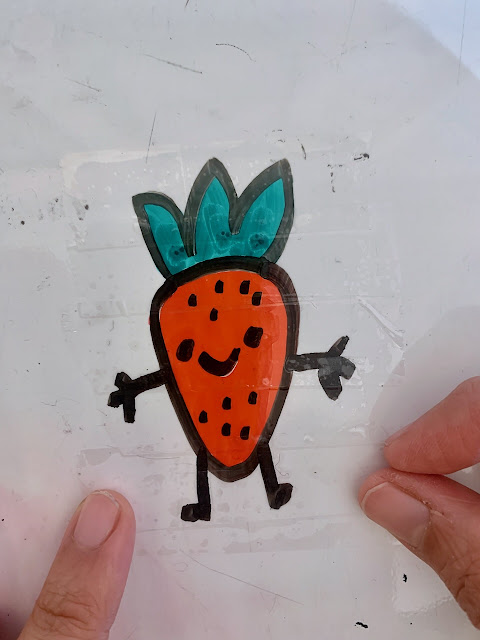
2. Cover the image with clear tape, starting from top to bottom, making sure to overlap your pieces of tape.
(Note: We also tried using packing tape because it has a larger surface area, but ended up ripping off the top layer of one of our whiteboards. I'm not sure that happened because the packing tape was too strong, or our whiteboard was of inferior quality.)
3. When the entire image is covered, carefully peel your tape to reveal your finished sticker!
4. Voila! You're all done.
My boys really enjoyed this craft and spent an afternoon drawing and creating stickers.
And if you're interested in watching a fun video of this process, check out my IG account!
Happy creating and connecting, friends!


