Note: This is a post sponsored by Plaid, but the opinions are 100% mine.
Halloween is finally out of my mind and I'm now looking forward to the next set of holidays. Even though I don't really like winter (boo, shortened daylight hours), I do appreciate that we're entering a special season filled with cozy sweaters, yummy food, family get-togethers, yummy food, twinkly lights, yummy food and of course... holiday crafting (and yummy food)! Right now I've got an itch to add more glitter and sparkle to my life. Luckily for me, Plaid sent me a couple of holiday-themed crafting items, including
Mod Podge Sparkle, which will help me to do just that.
Psst- If you're new to Mod Podge, here's a bit of an introduction to their line of awesome products
- Mod Podge is an excellent all-in-one glue, sealer, and finish. It's available in a ton of
different formulas, making it a perfect to use for your holiday (or
everyday) gift giving projects.
- You can buy Mod Podge at tons of retailers nationwide or directly from Plaid's website as well
- Not sure how to start using the product? No worries. Plaid's website has a ton of great tips and tricks for using all their products: http://www.plaidonline.com/decoupage/dept/basics.htm
So, inspired by the upcoming holiday season and my love of the nighttime sky, I made this sparkly, ombre, popsicle stick star garland.

Wanna make this simple and sparkly garland? Well, put on your favorite holiday song and let's get started!
Materials:
- Mini Craft Sticks
- FolkArt Multi-Surface paint
- Plastic Artist's Palette
- Paint Brush
- Scrap paper
- Mod Podge Sparkle
- Mod Podge Spouncer (an easy to use sponge brush)
- Hot Glue Gun
- Parchment Paper
- String
- Scissors
Directions:
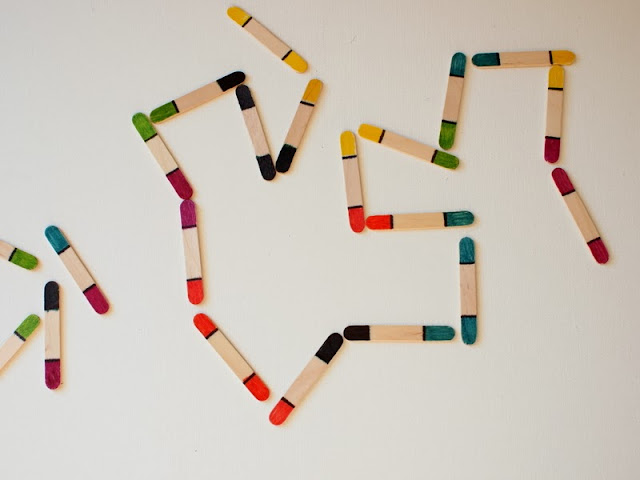
1. Decide how many stars you want to make. Then, take that number and multiply it by 5 to figure out how many craft sticks to paint. (Each star will be made out of five craft sticks.) Now it's time to paint. To create an ombre effect, first paint five stars your darkest color. (Be sure to paint the sides of your sticks too!) Then, add a bit of white paint to your original color to lighten it just a bit. Paint five more sticks with this lighter color. Keep repeating this procedure and mixing in white paint as you paint each new set of five sticks. Your original color will become lighter and lighter, creating an ombre effect.
2. Once your paint dries, use the spouncer to apply Mod Podge Sparkle to your sticks. This will protect your paint job and add just a bit of lovely sparkle. Lay your sticks on parchment paper to dry. (The parchment paper prevents the sticks from sticking to your work surface.) Try to make sure that your sticks don't touch one another as they dry
3. Once your sticks are dry, it's time to make your stars! (If you have a bit of excess Mod Podge around the edges, use your scissors to trim it off.) To make sure that your stars look similar, first make a practice star and then use a pencil to trace your star's five points. Use these pencil marks as guidelines when you hot glue your stars together.
4. Arrange your stars in order.
5. Cut out your desired length of string. Then, tie your stars on one by one to the string, starting from your darkest color and ending with your lightest color. To make sure that the stars don't slide off, tie your string through the center of each star and not through one of the arms.
And voila! A lovely star garland, just perfect for the holiday season (or really... everyday!)
(To see how I painted the star painting, click
here.)
If you'd like to learn more about Plaid Products, you can always connect with them on
Facebook, check out their
Paint Me Plaid Blog, or sign up for their
Newsletter.
And....
Happy crafting!


